

I posted this over on Ravelry, so decided to share it here.
Here’s a quick tutorial on how I use a nostepinne. A nosty is just a stick, so this would work on any stick or even a toilet paper roll.
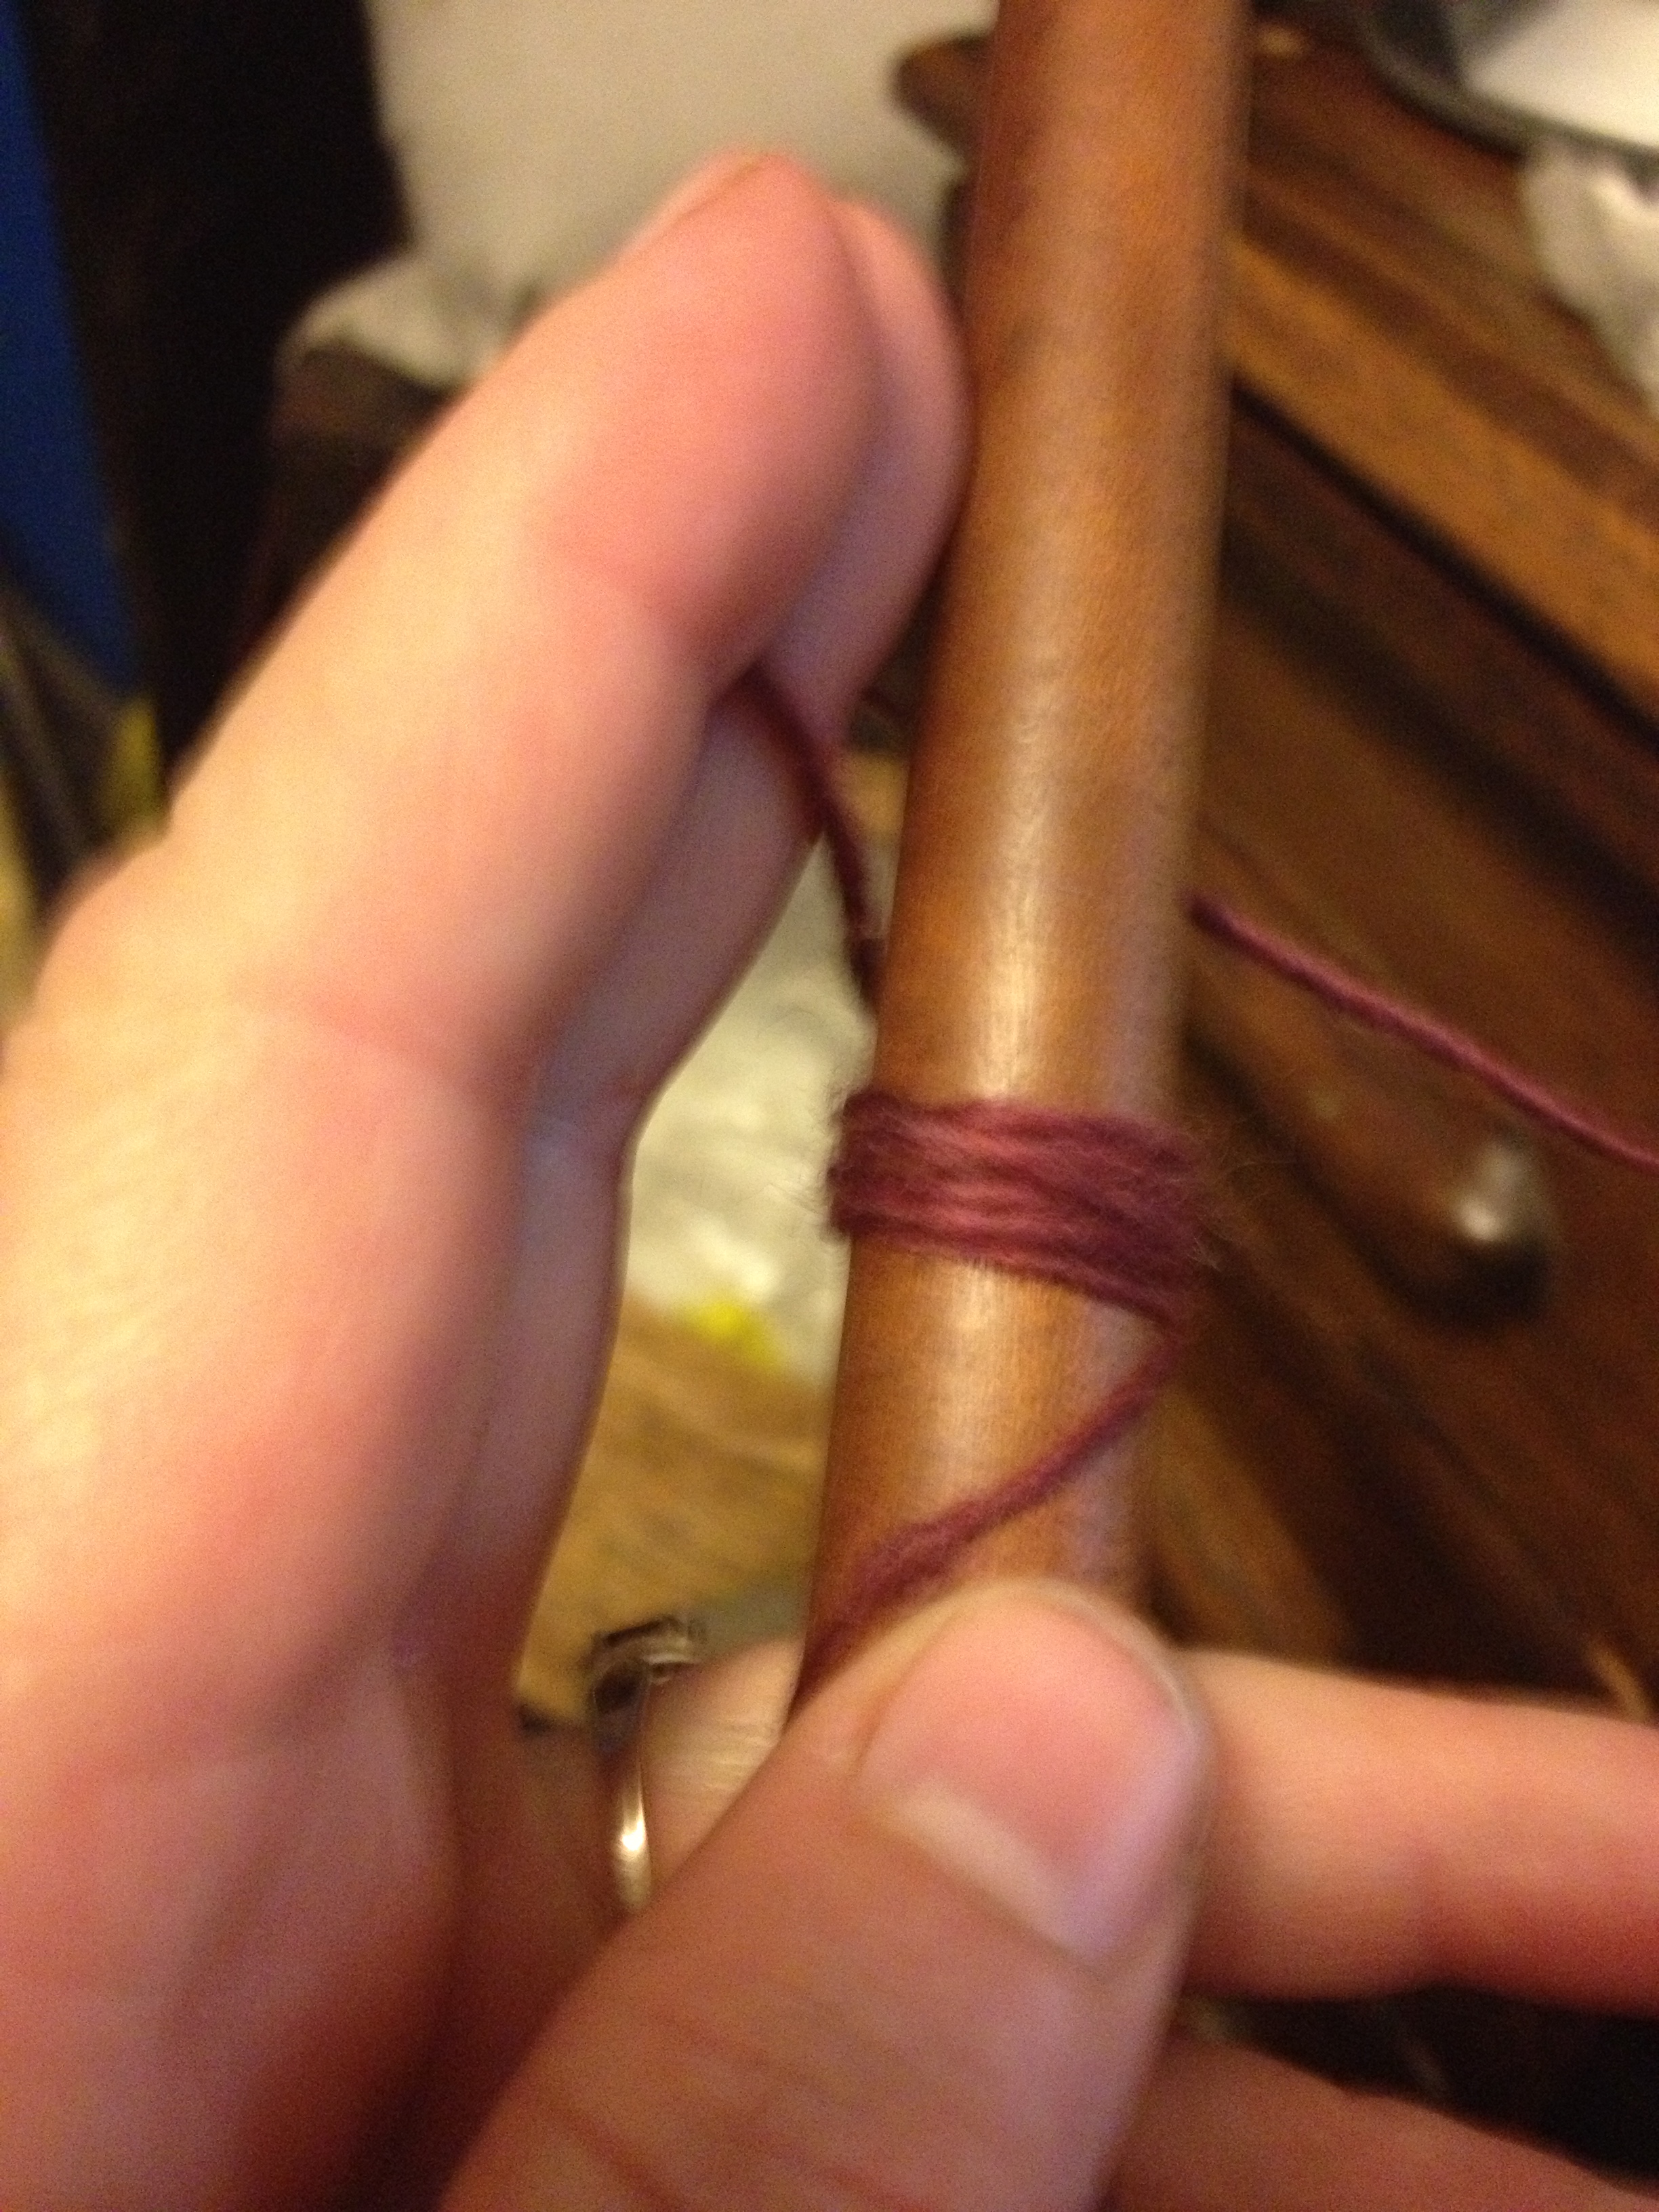
I like to start by tying the yarn around the handle of my nosty. You can just hold it in place to start. I wrap it around towards the right.

Here I’ve wrapped it a few times around the nosty to get started. Notice that I’ve got the yarn pointed up as I’m getting ready to start my wraps.
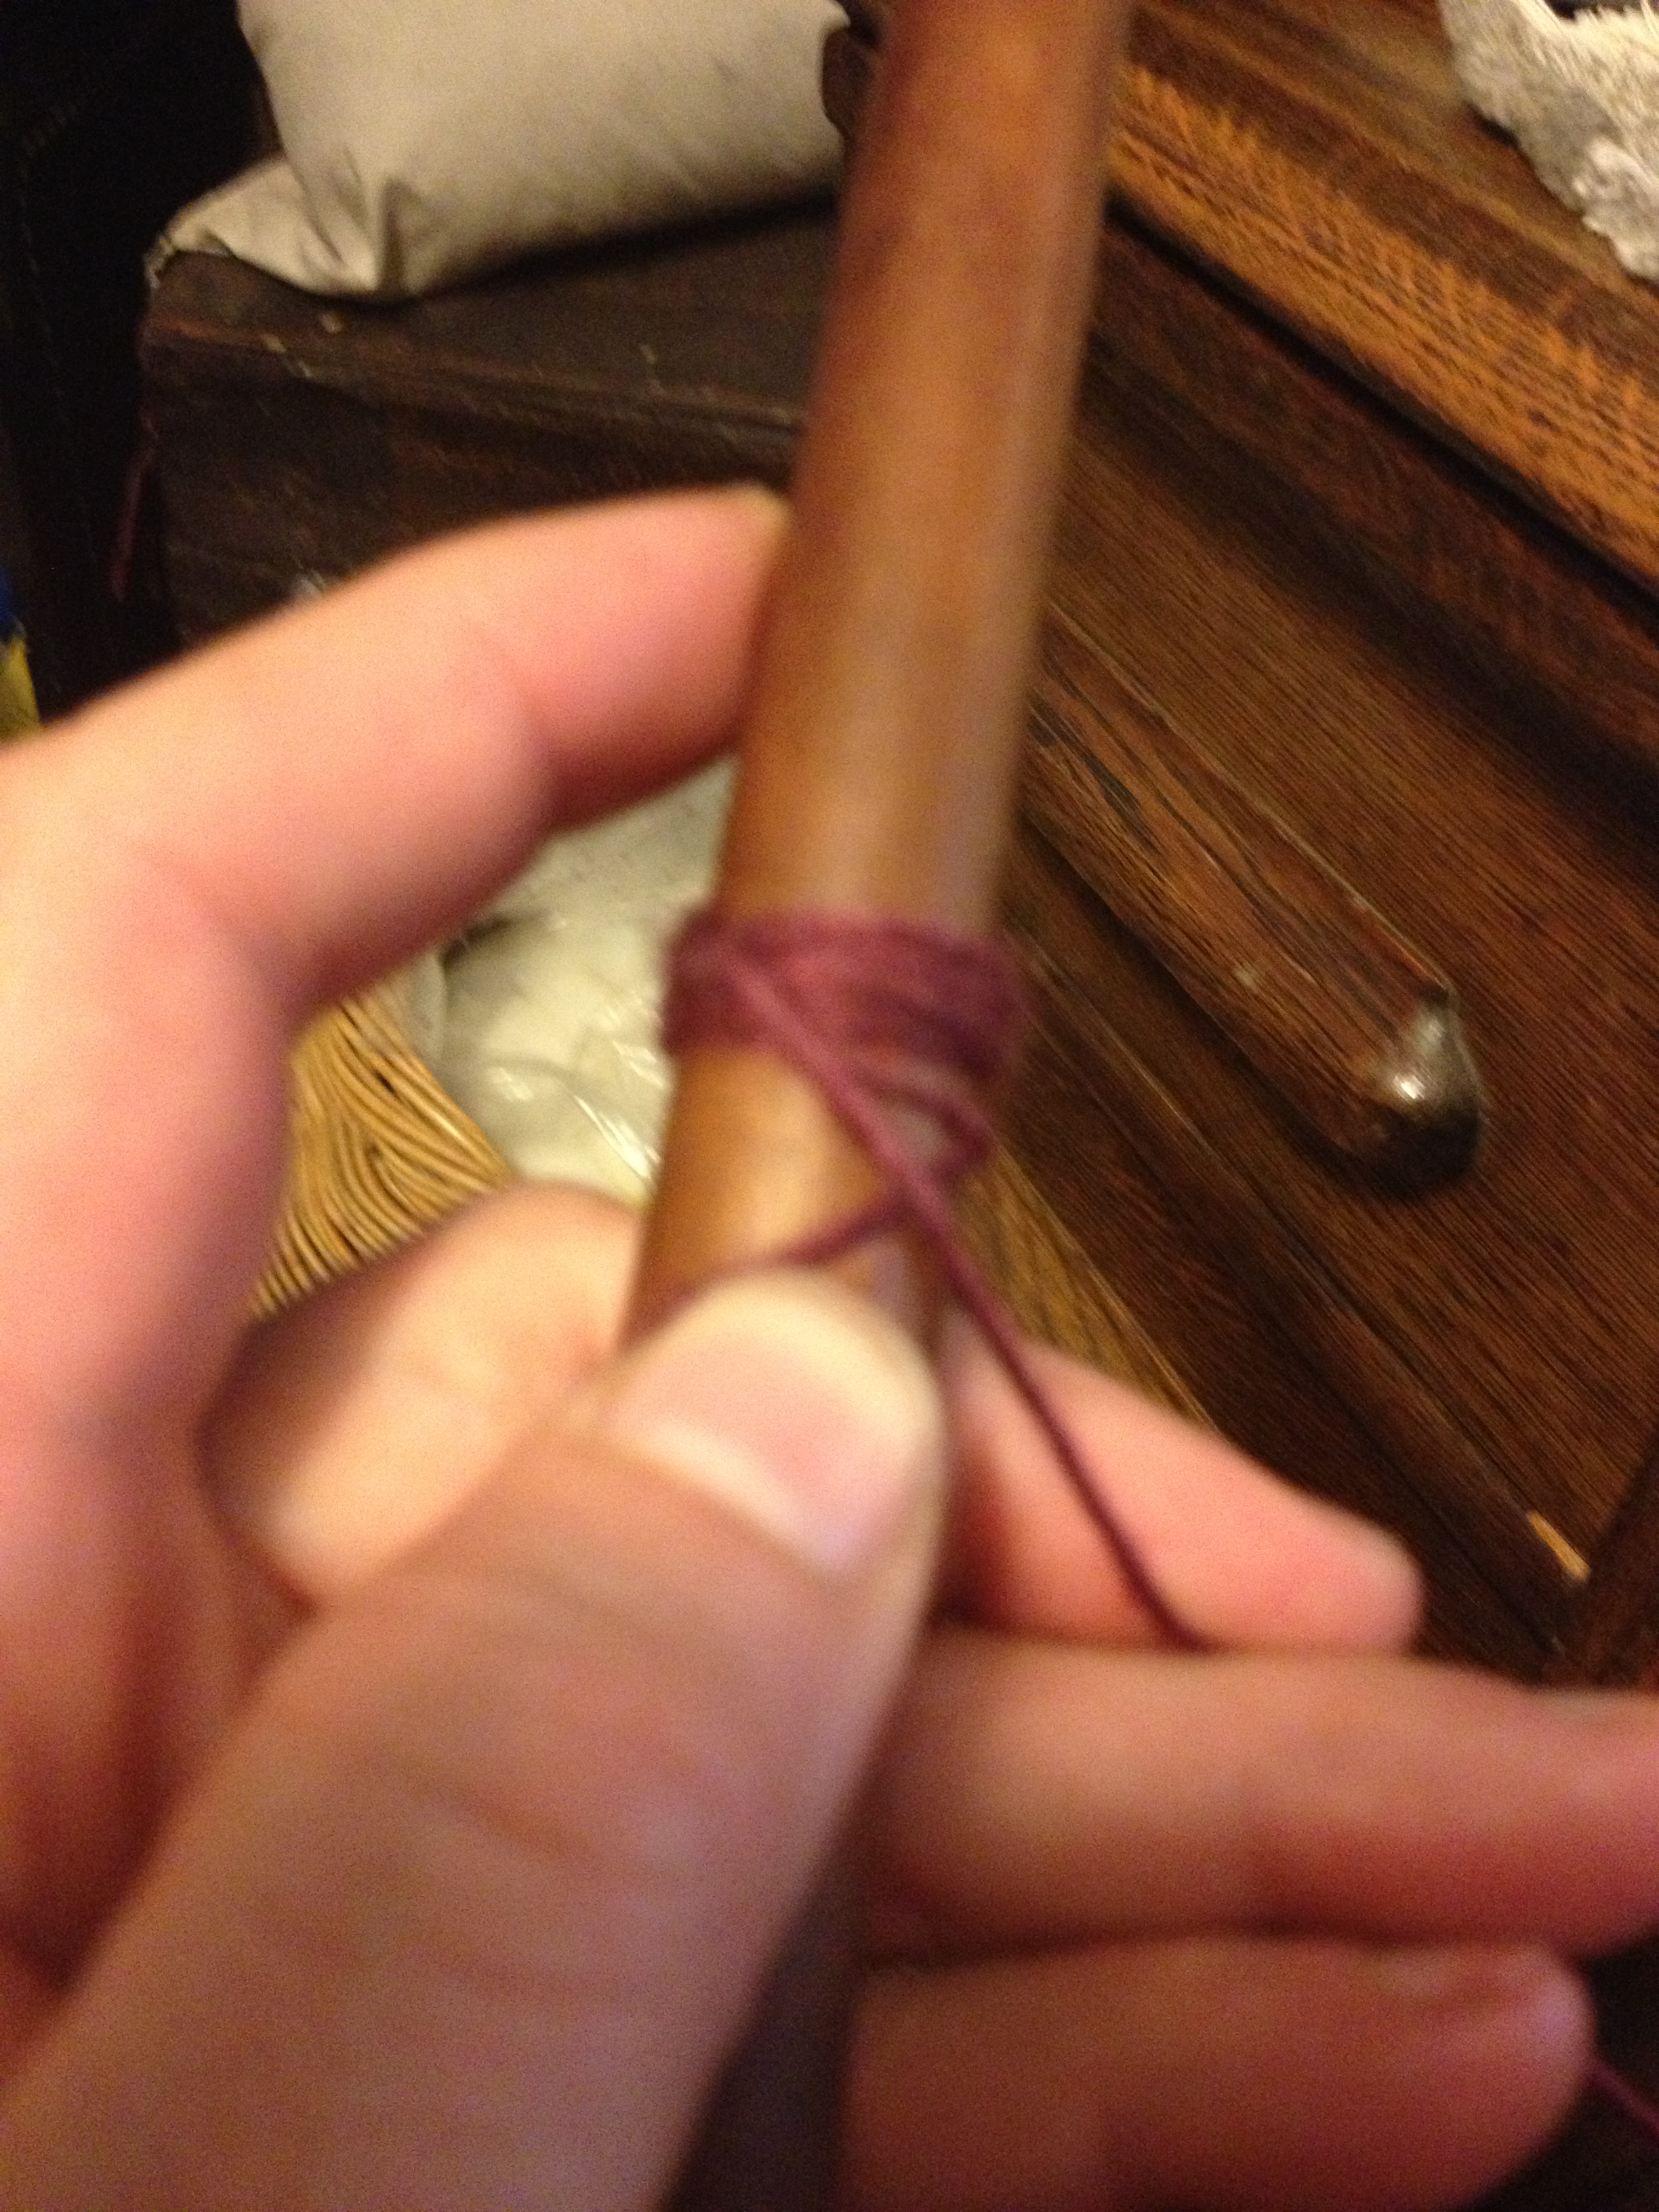
This is my first wrap down. Most people seem to wrap up, but I feel that I am faster making that downward motion.
Now I’ve gone around the nosty and back up, in position for the next downward wrap.
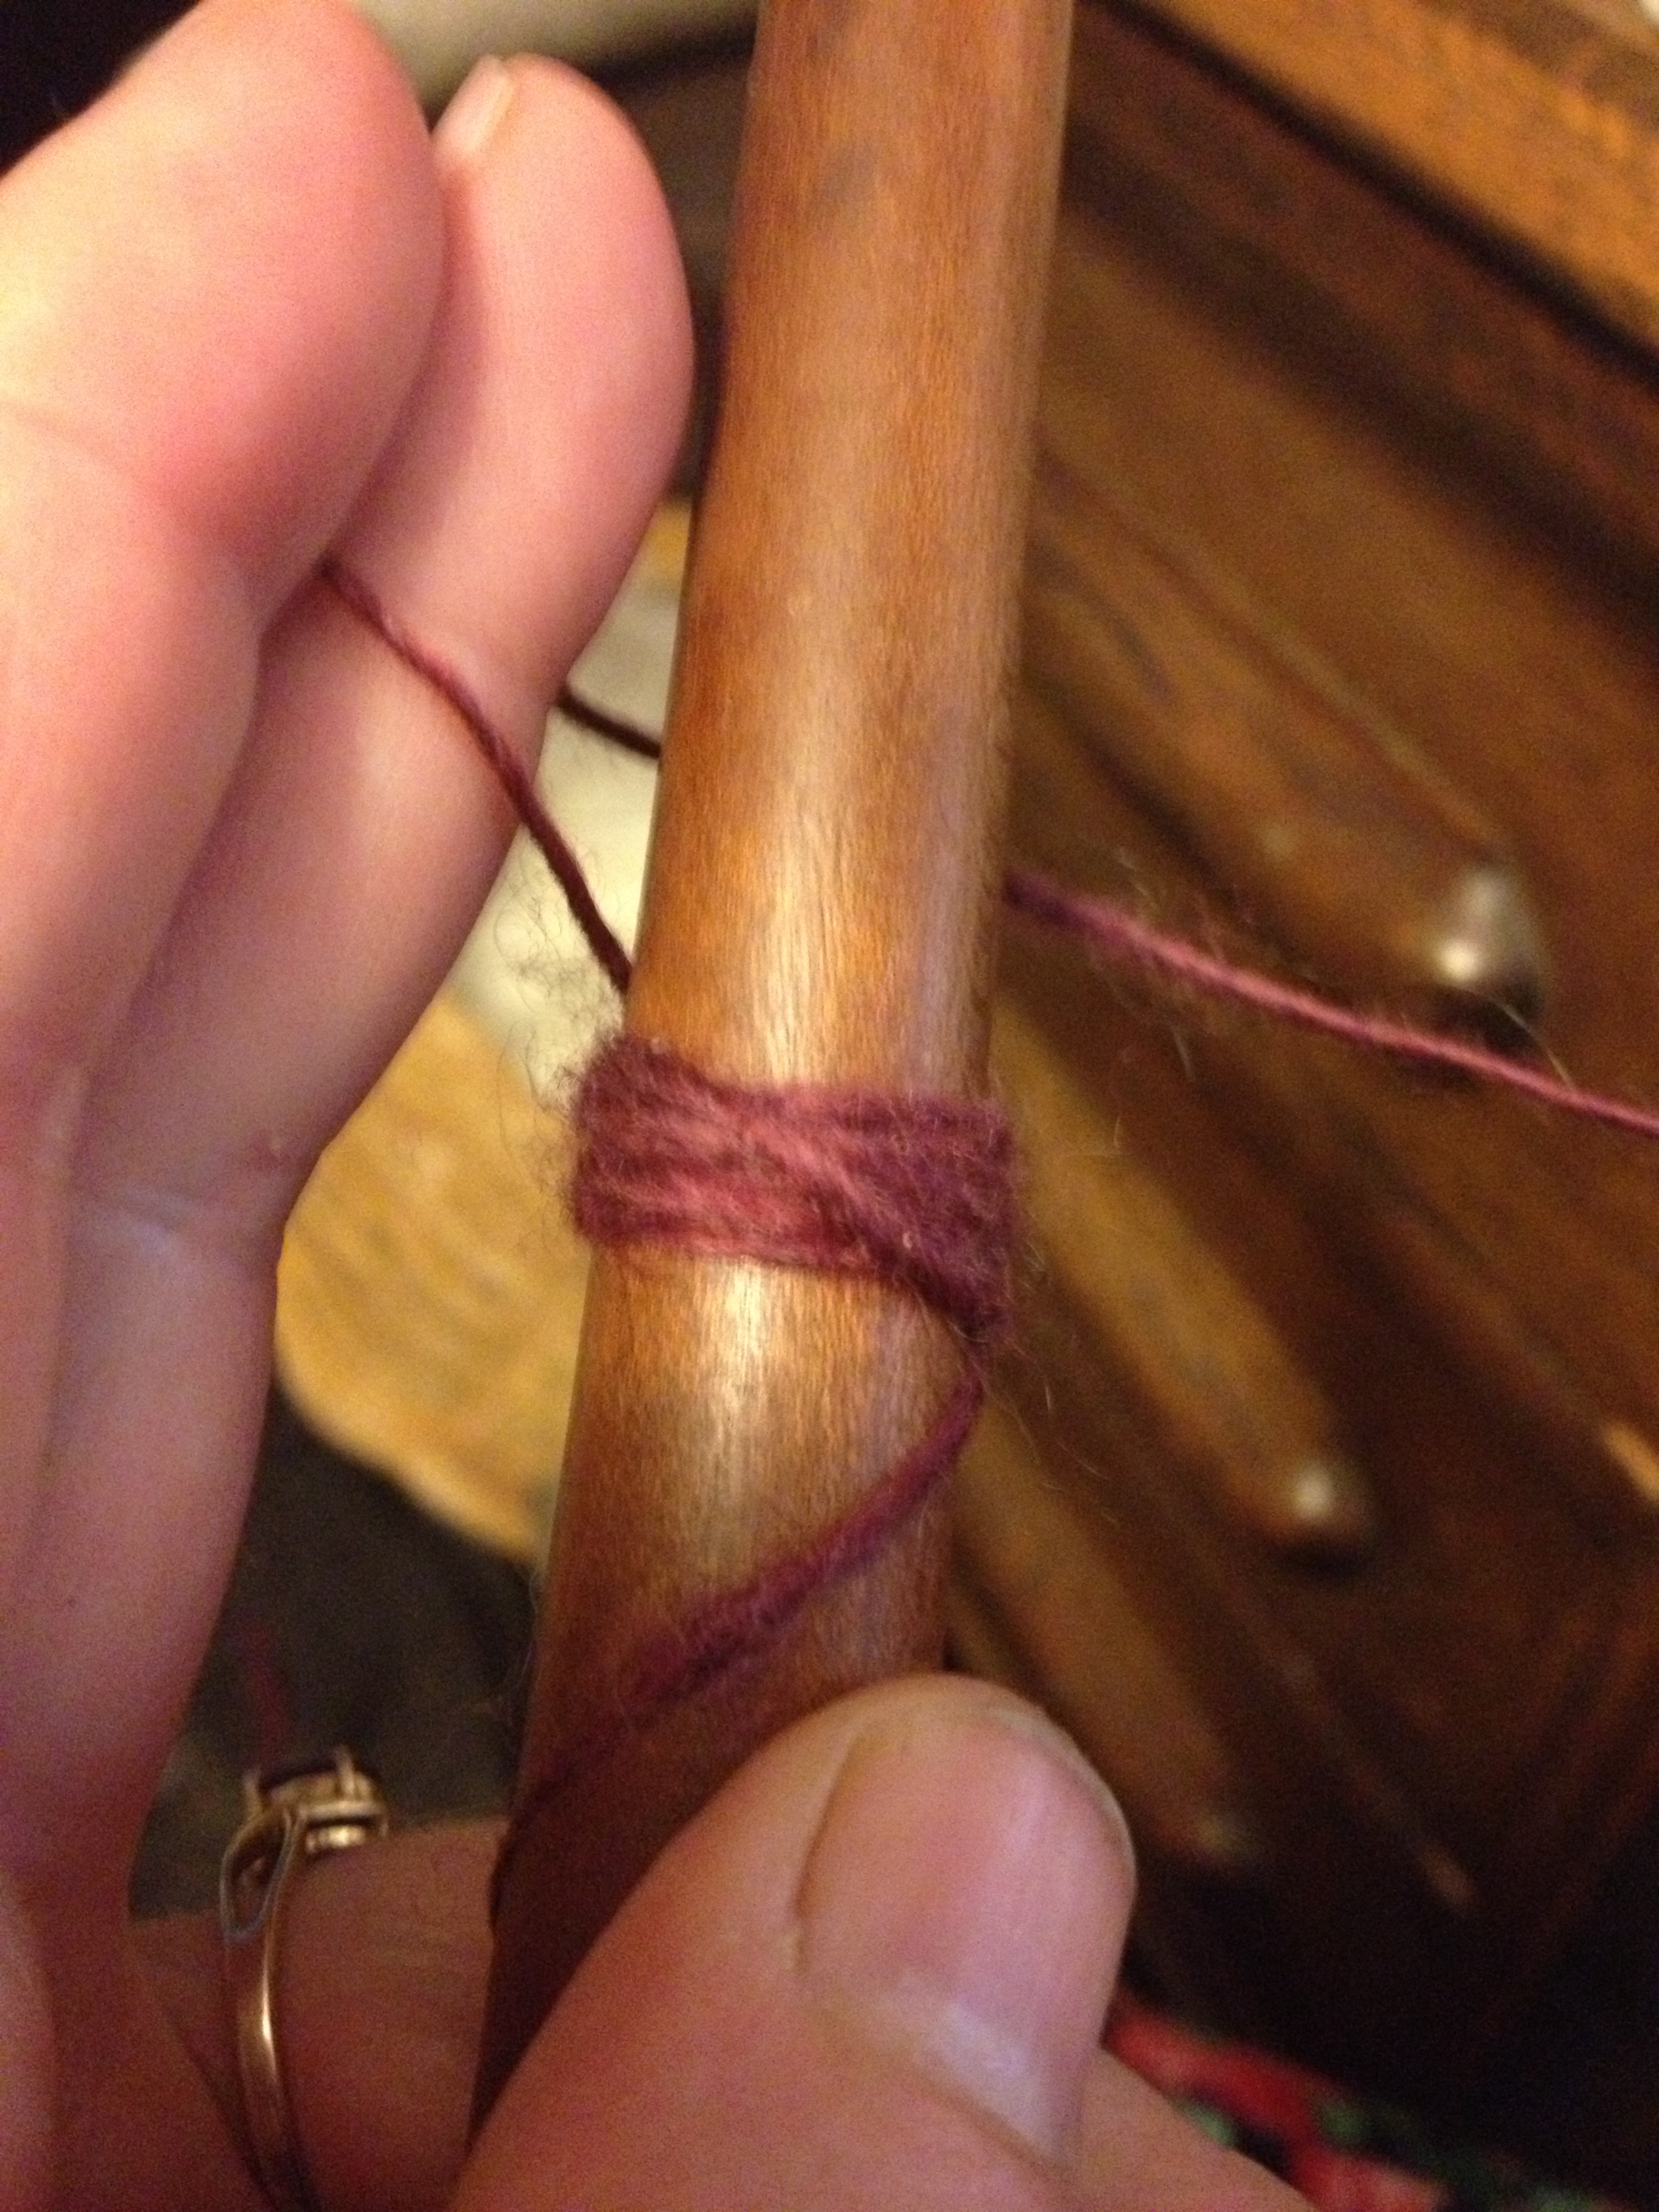
Each wrap is next to the previous wrap. You slowly turn the nosty as you are wrapping, using that same motion down in the front, then back up at the back.
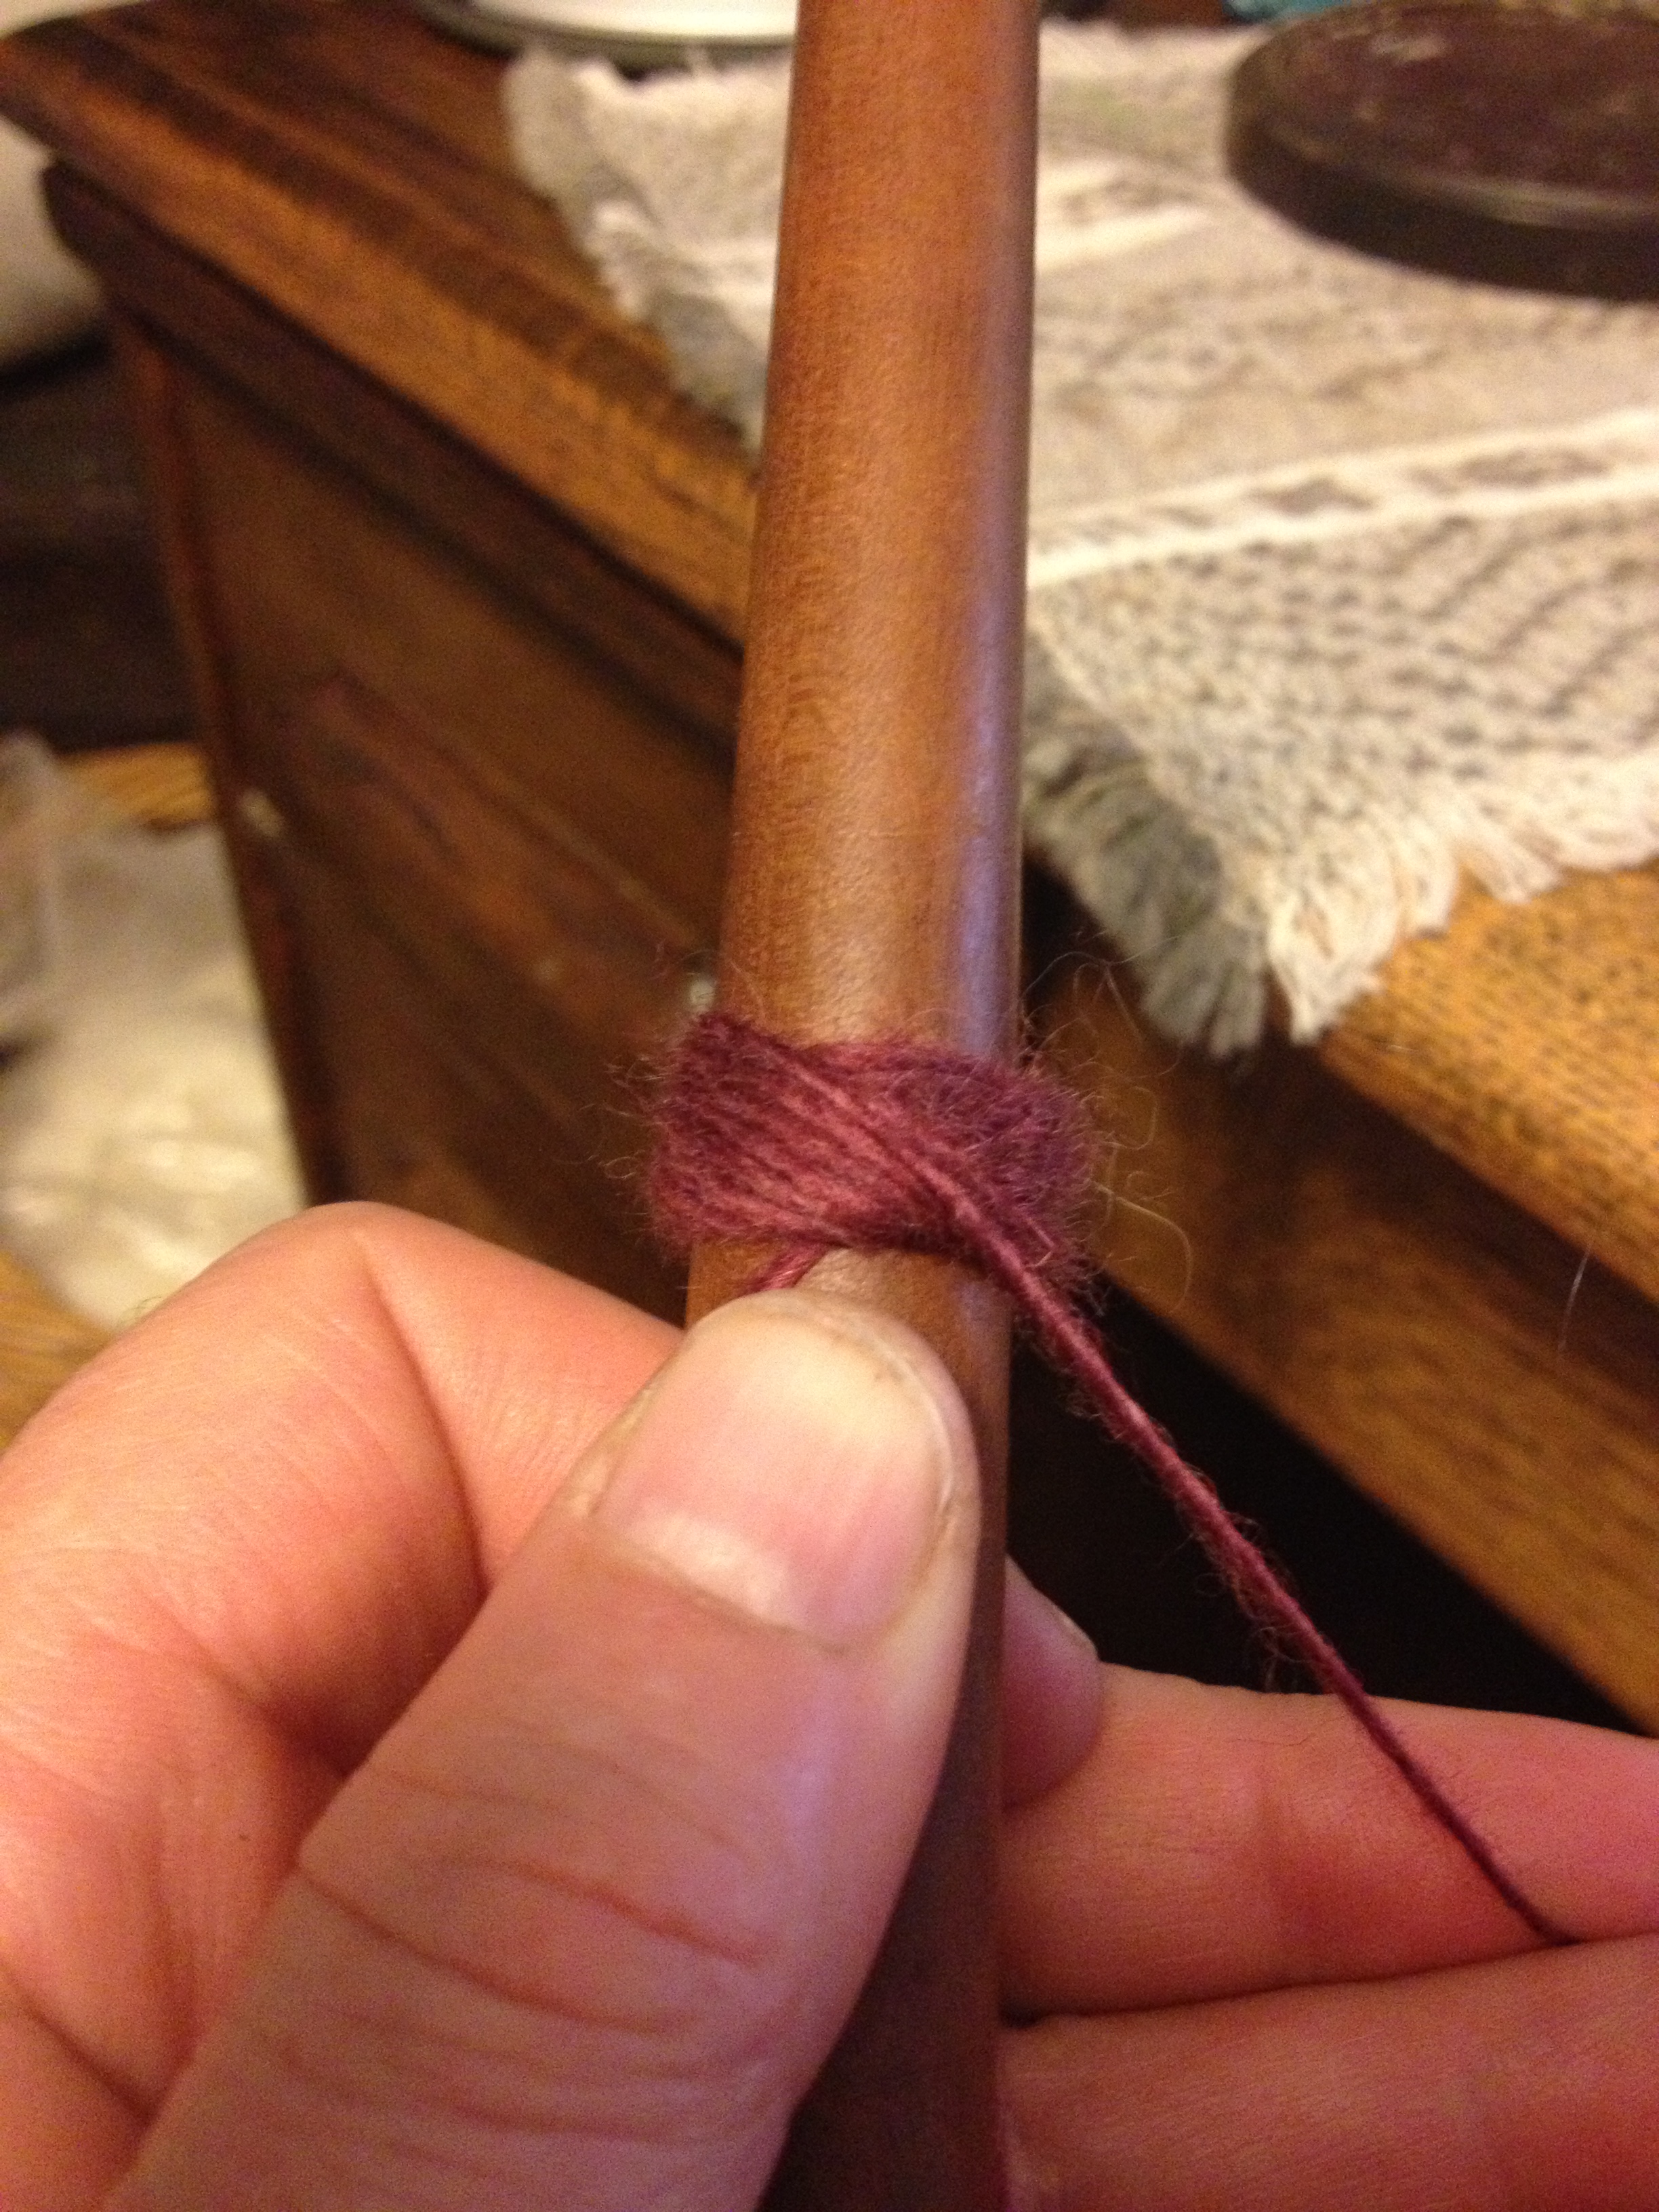
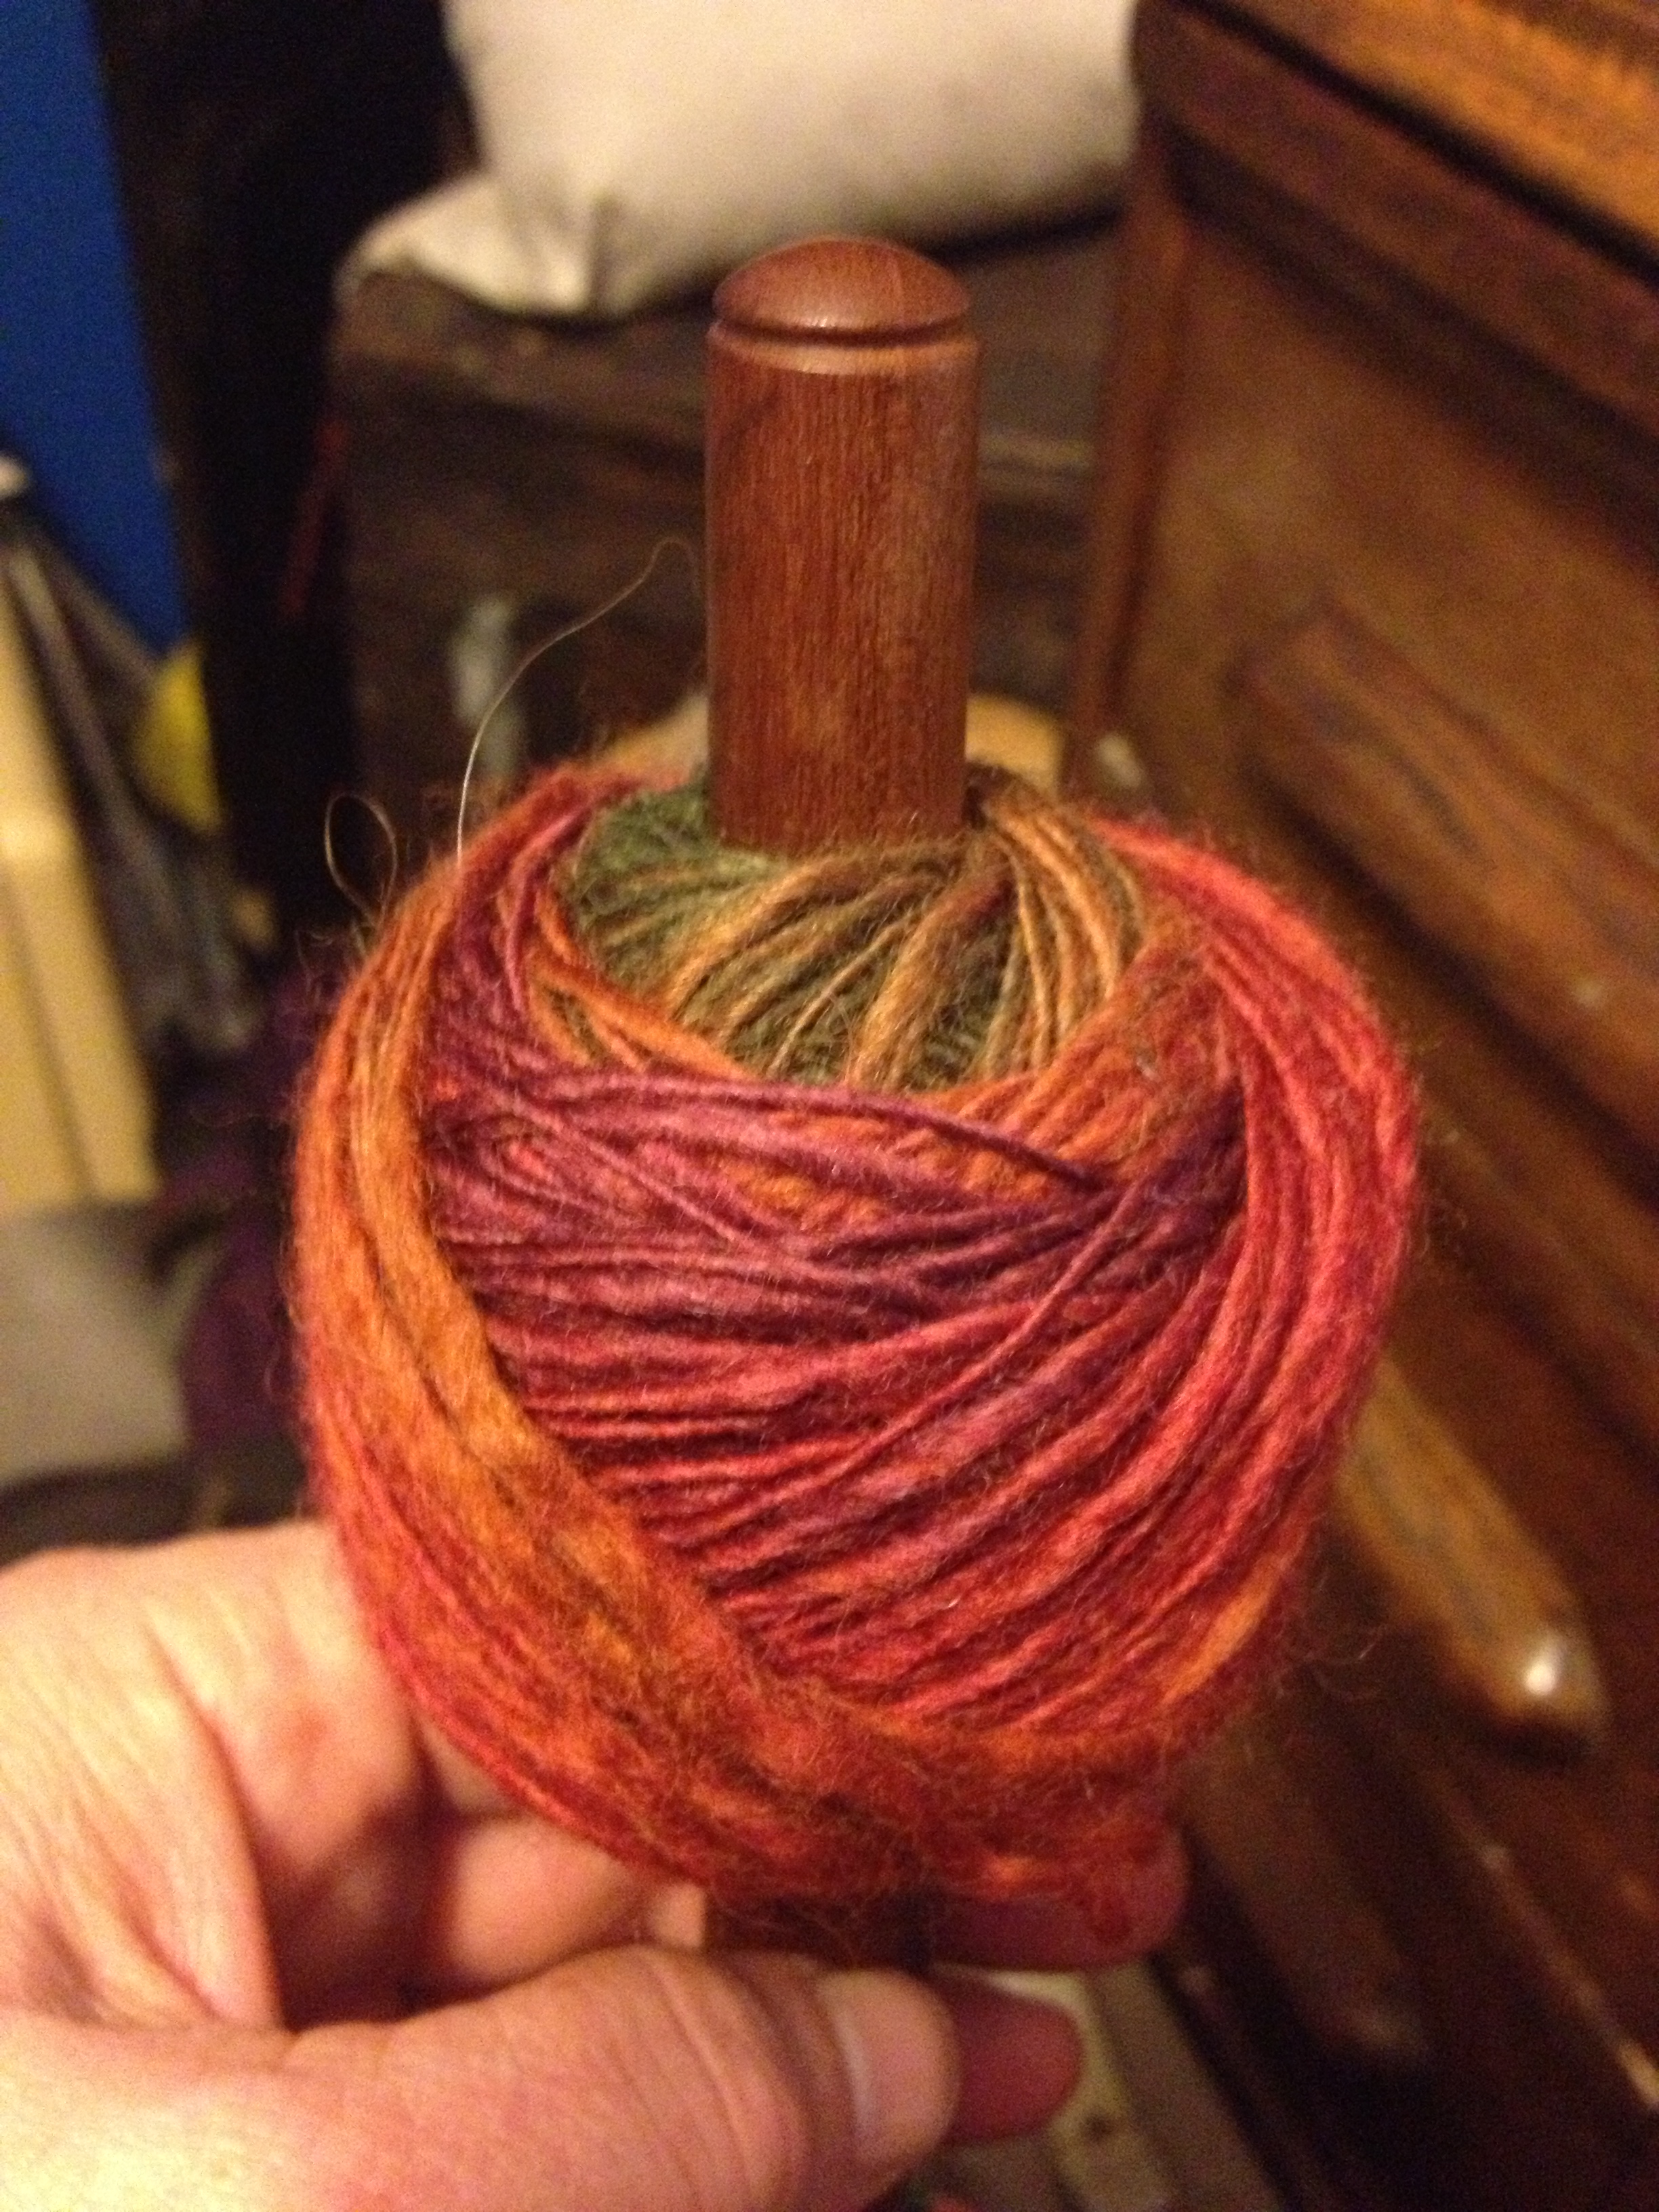
I’ve done several more turns here. Notice that the wraps are getting longer and the ball is growing longer on the nosty.
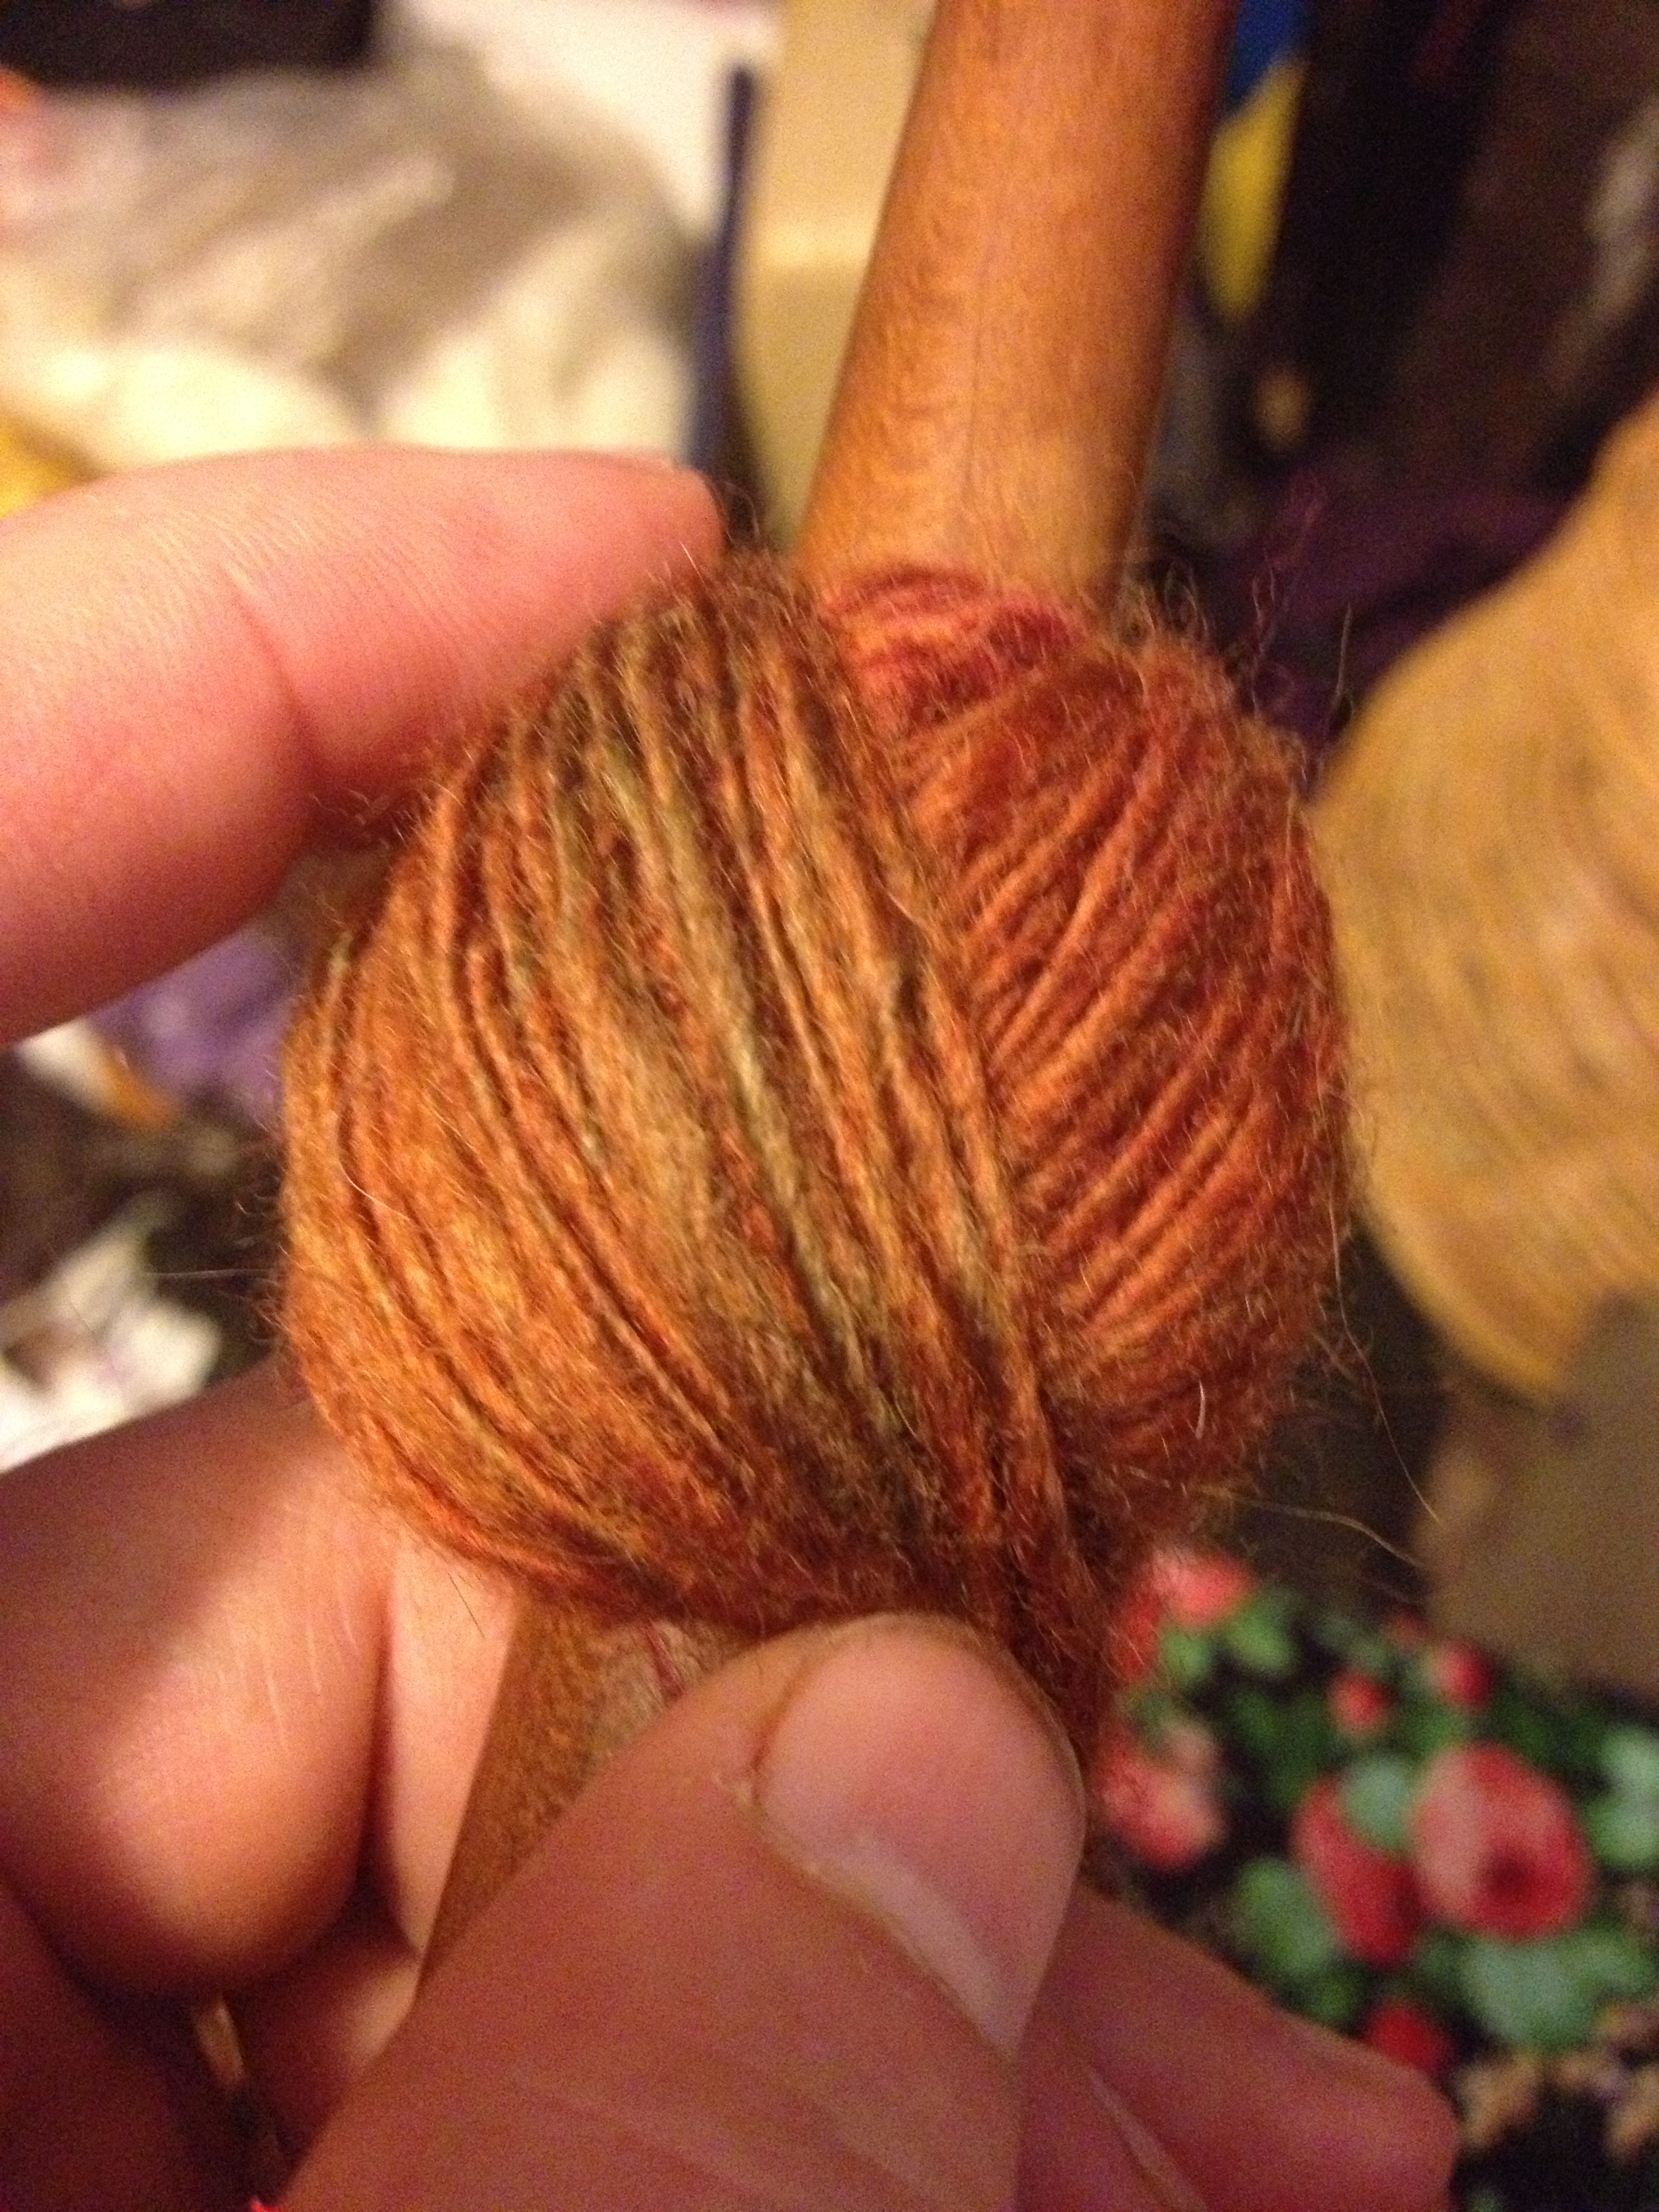
You can continue to go around like this, but you will wind up with a skinny long ball. I’m going to do what I call “make a shoulder” so that I make the ball fatter. Here’s my base:
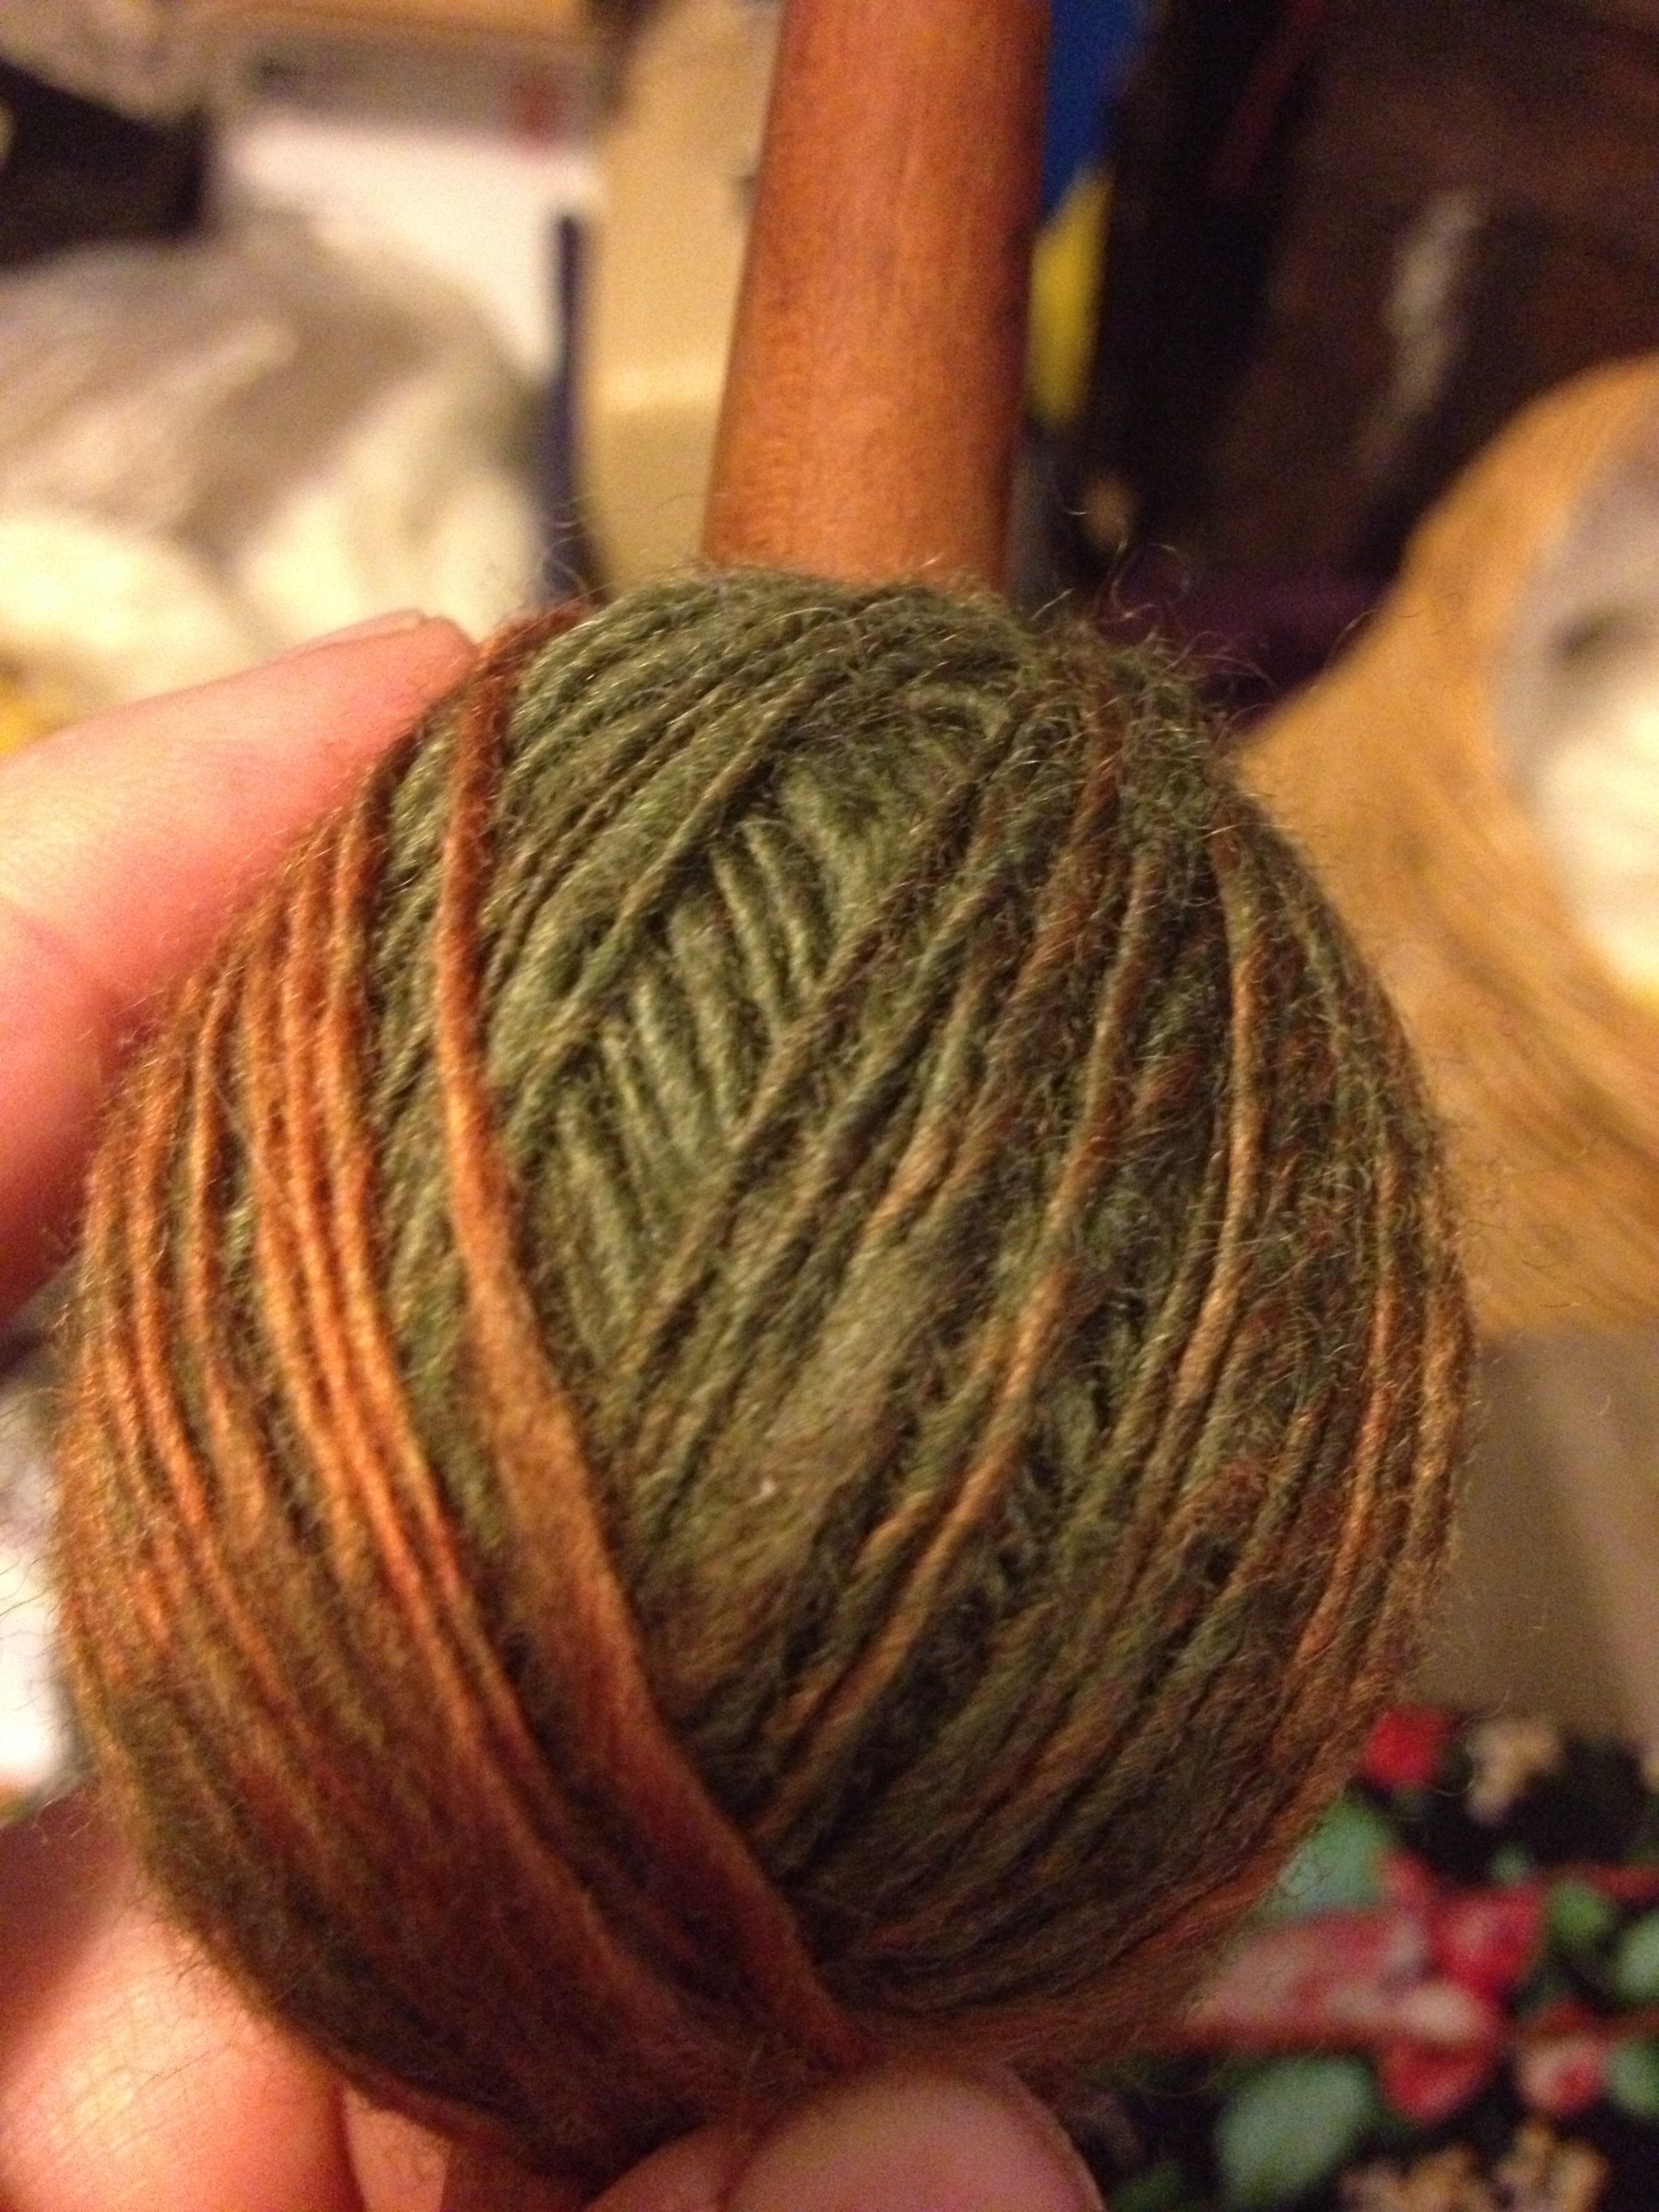
When you make a shoulder, you are deliberately shortening the length of the wrap. It helps to keep a finger nearby, to guide the yarn around the first few wraps.
You can really start to see how I’ve shortened the wrap. It also is moving diagonally across the ball, instead of up and down.
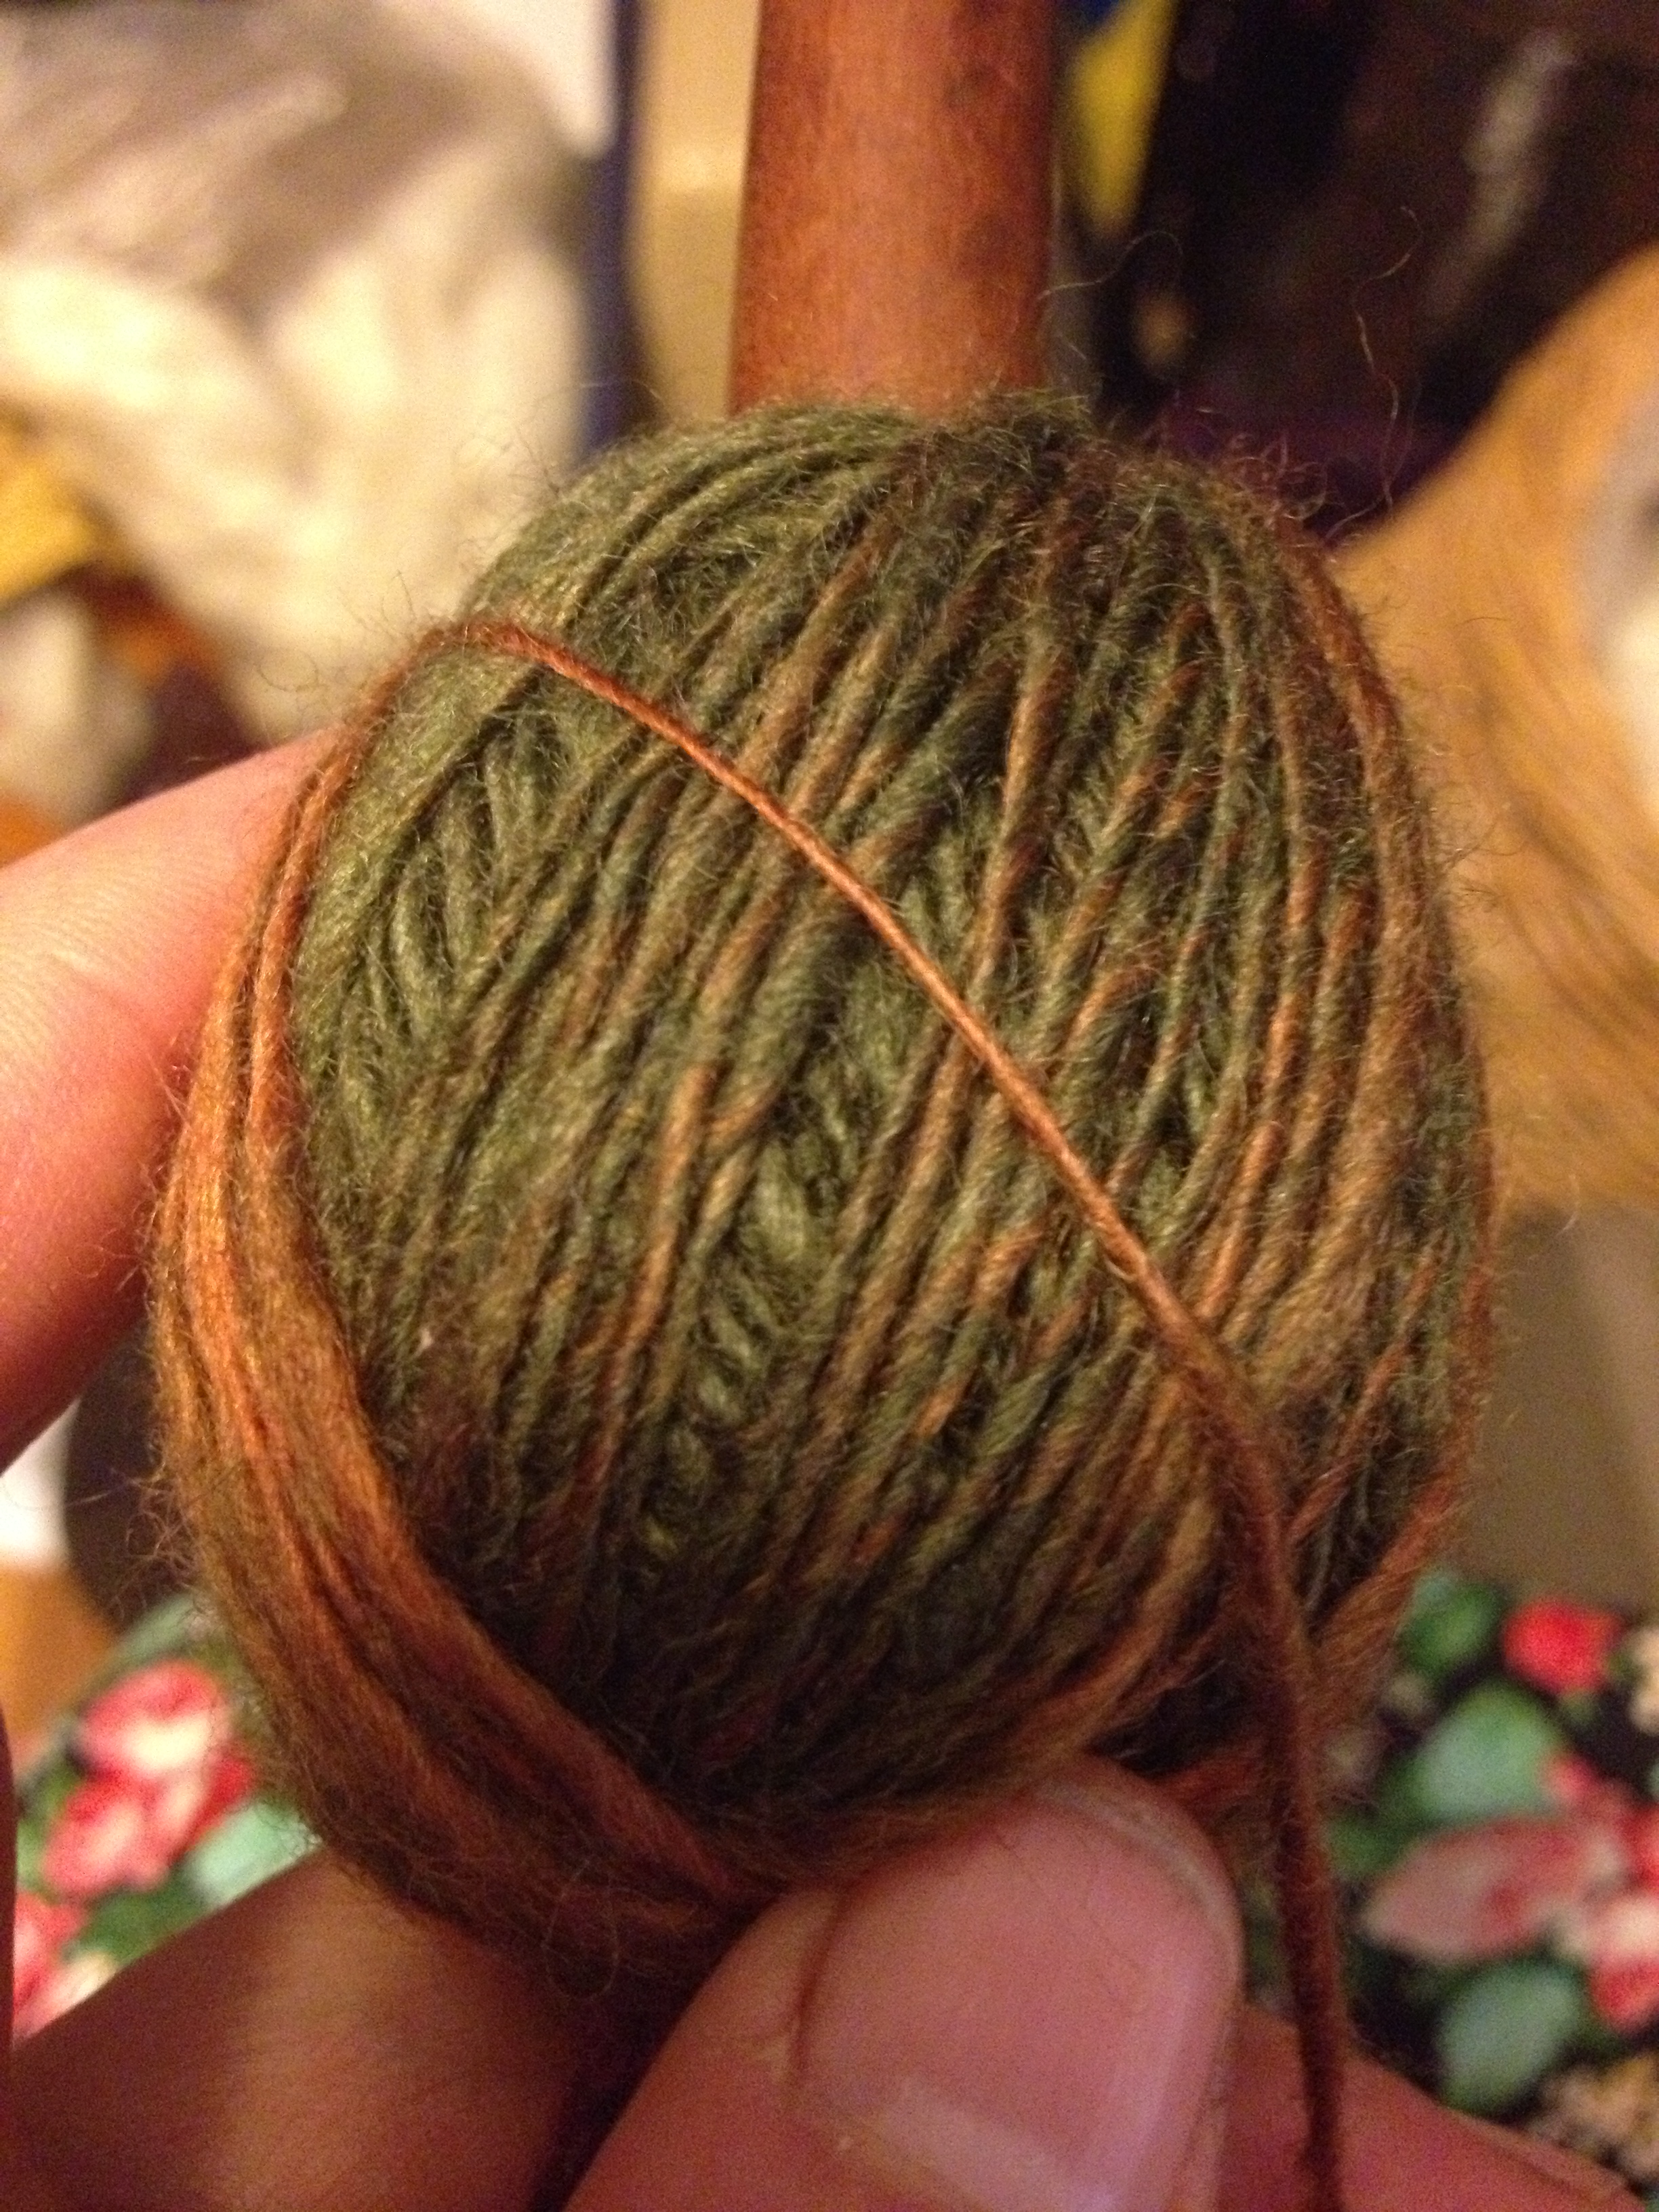
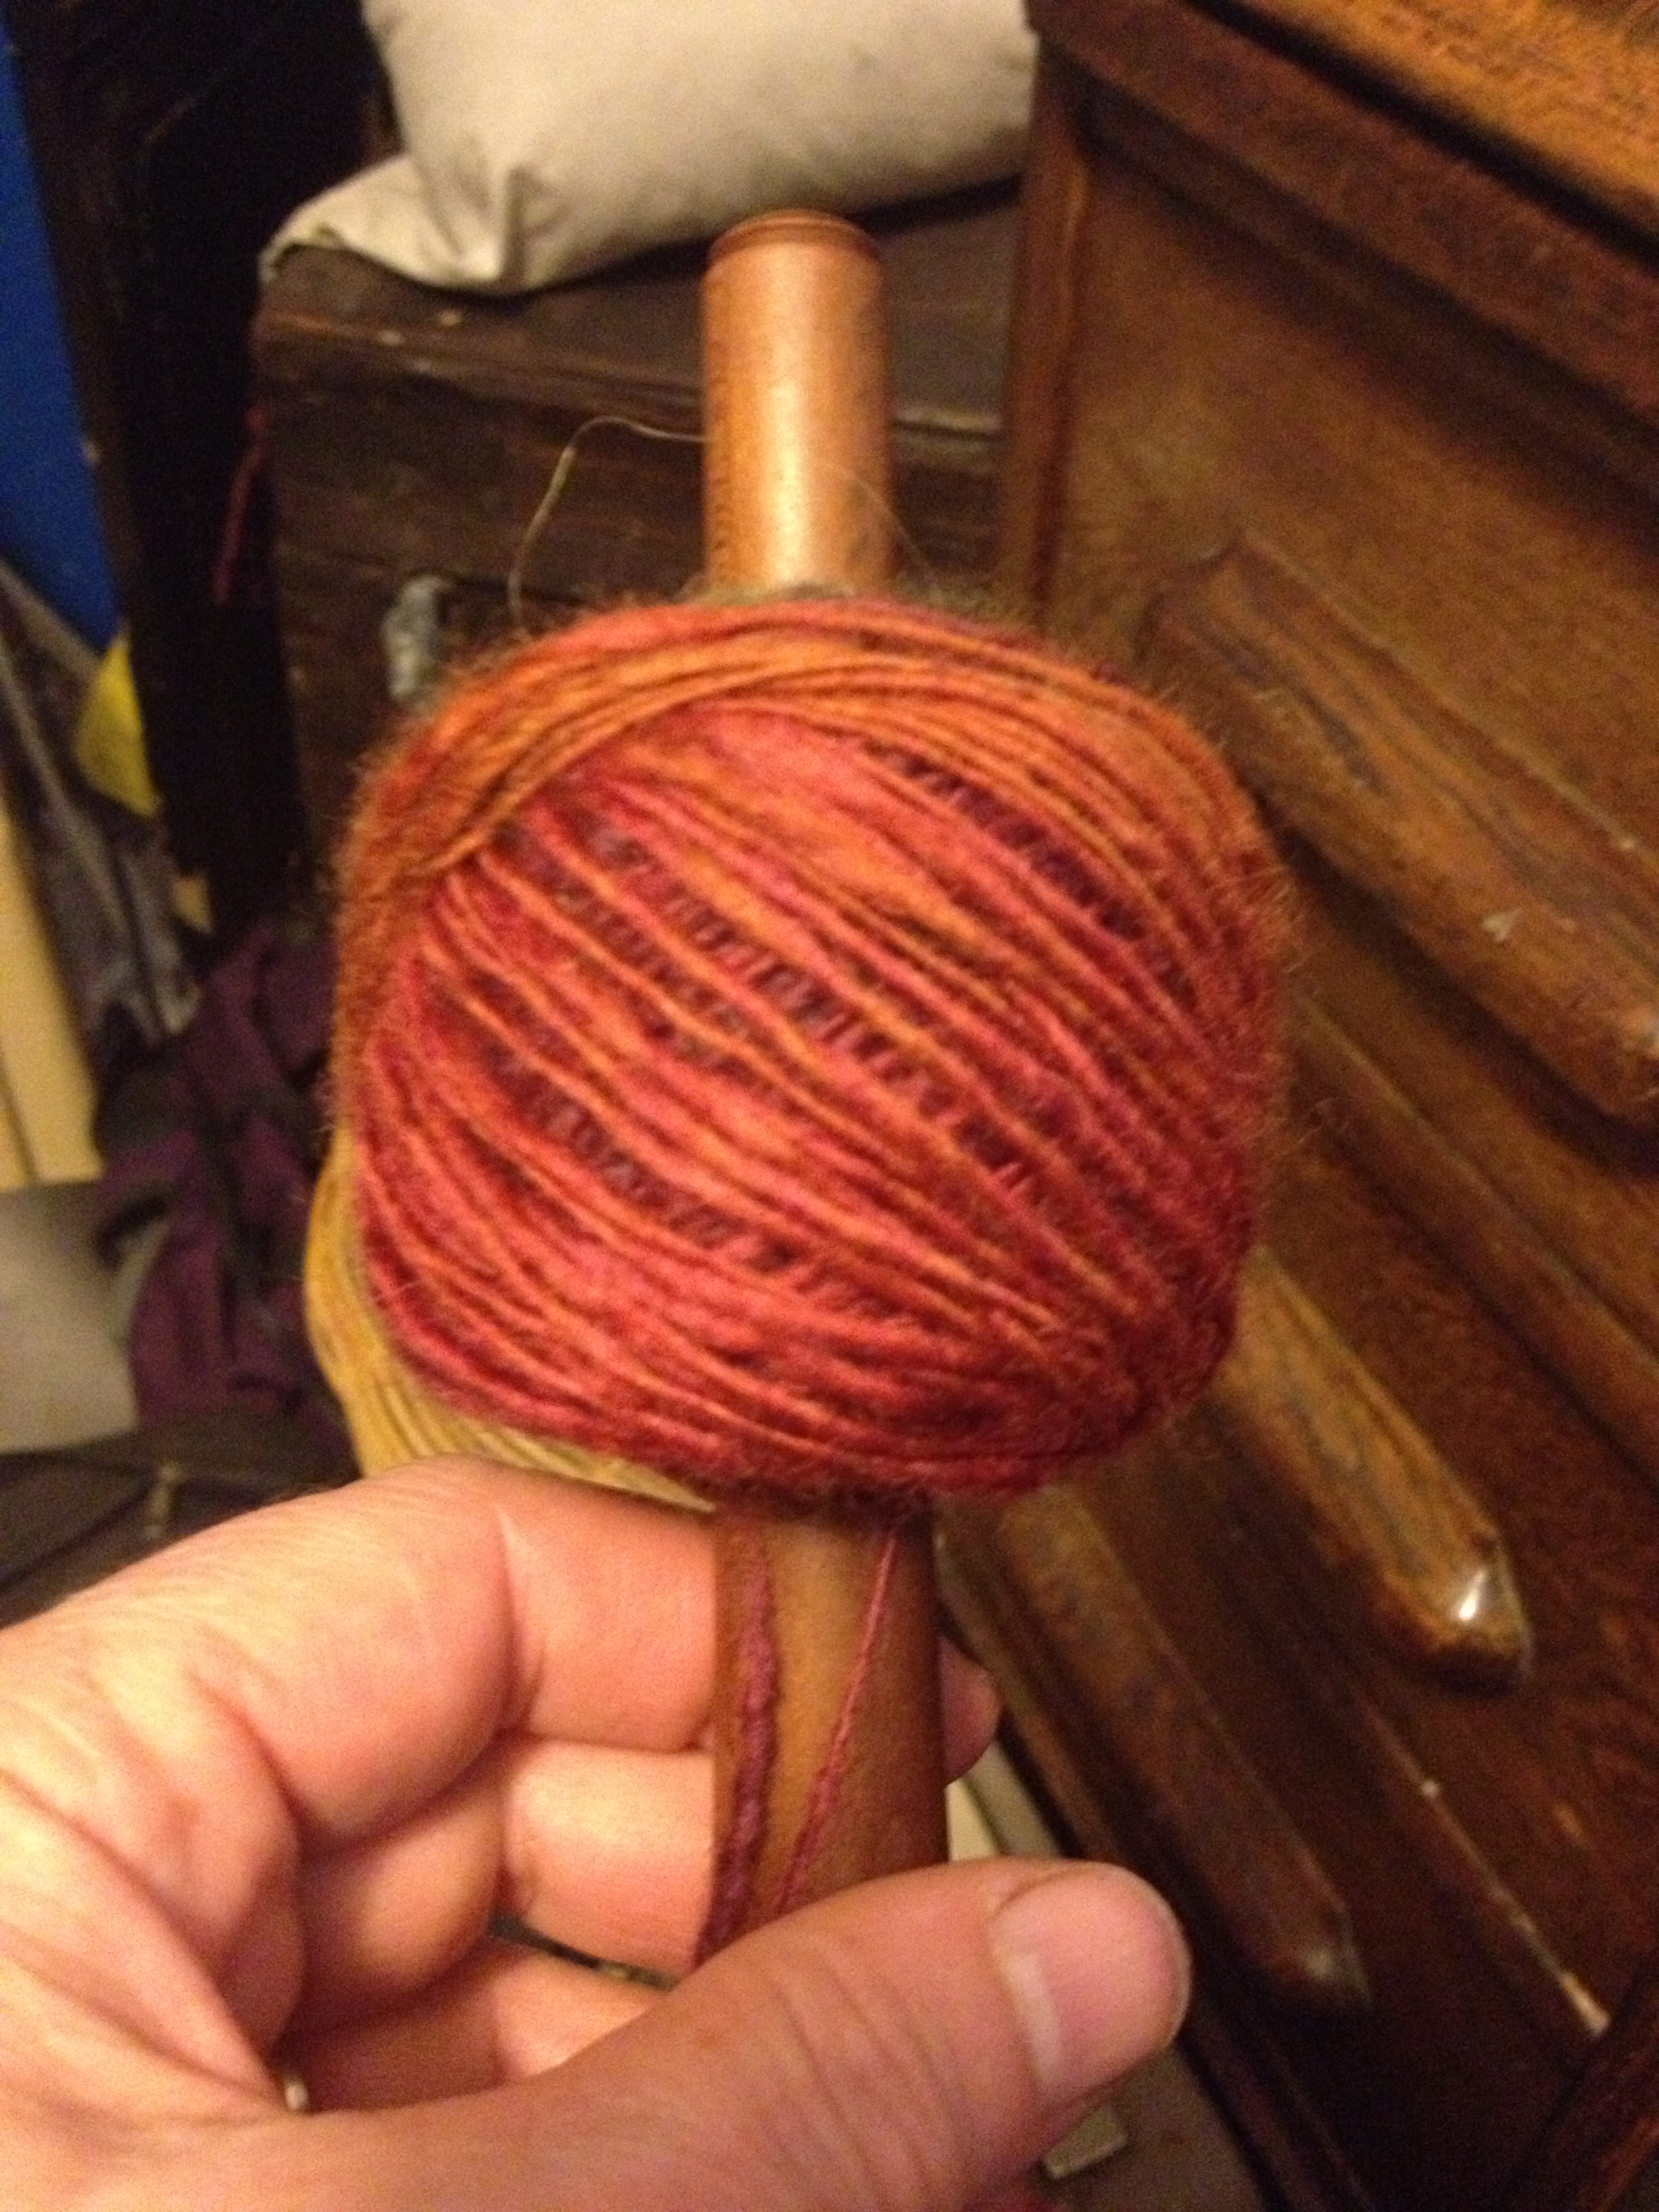
As you continue to move around the ball, it gets wider.

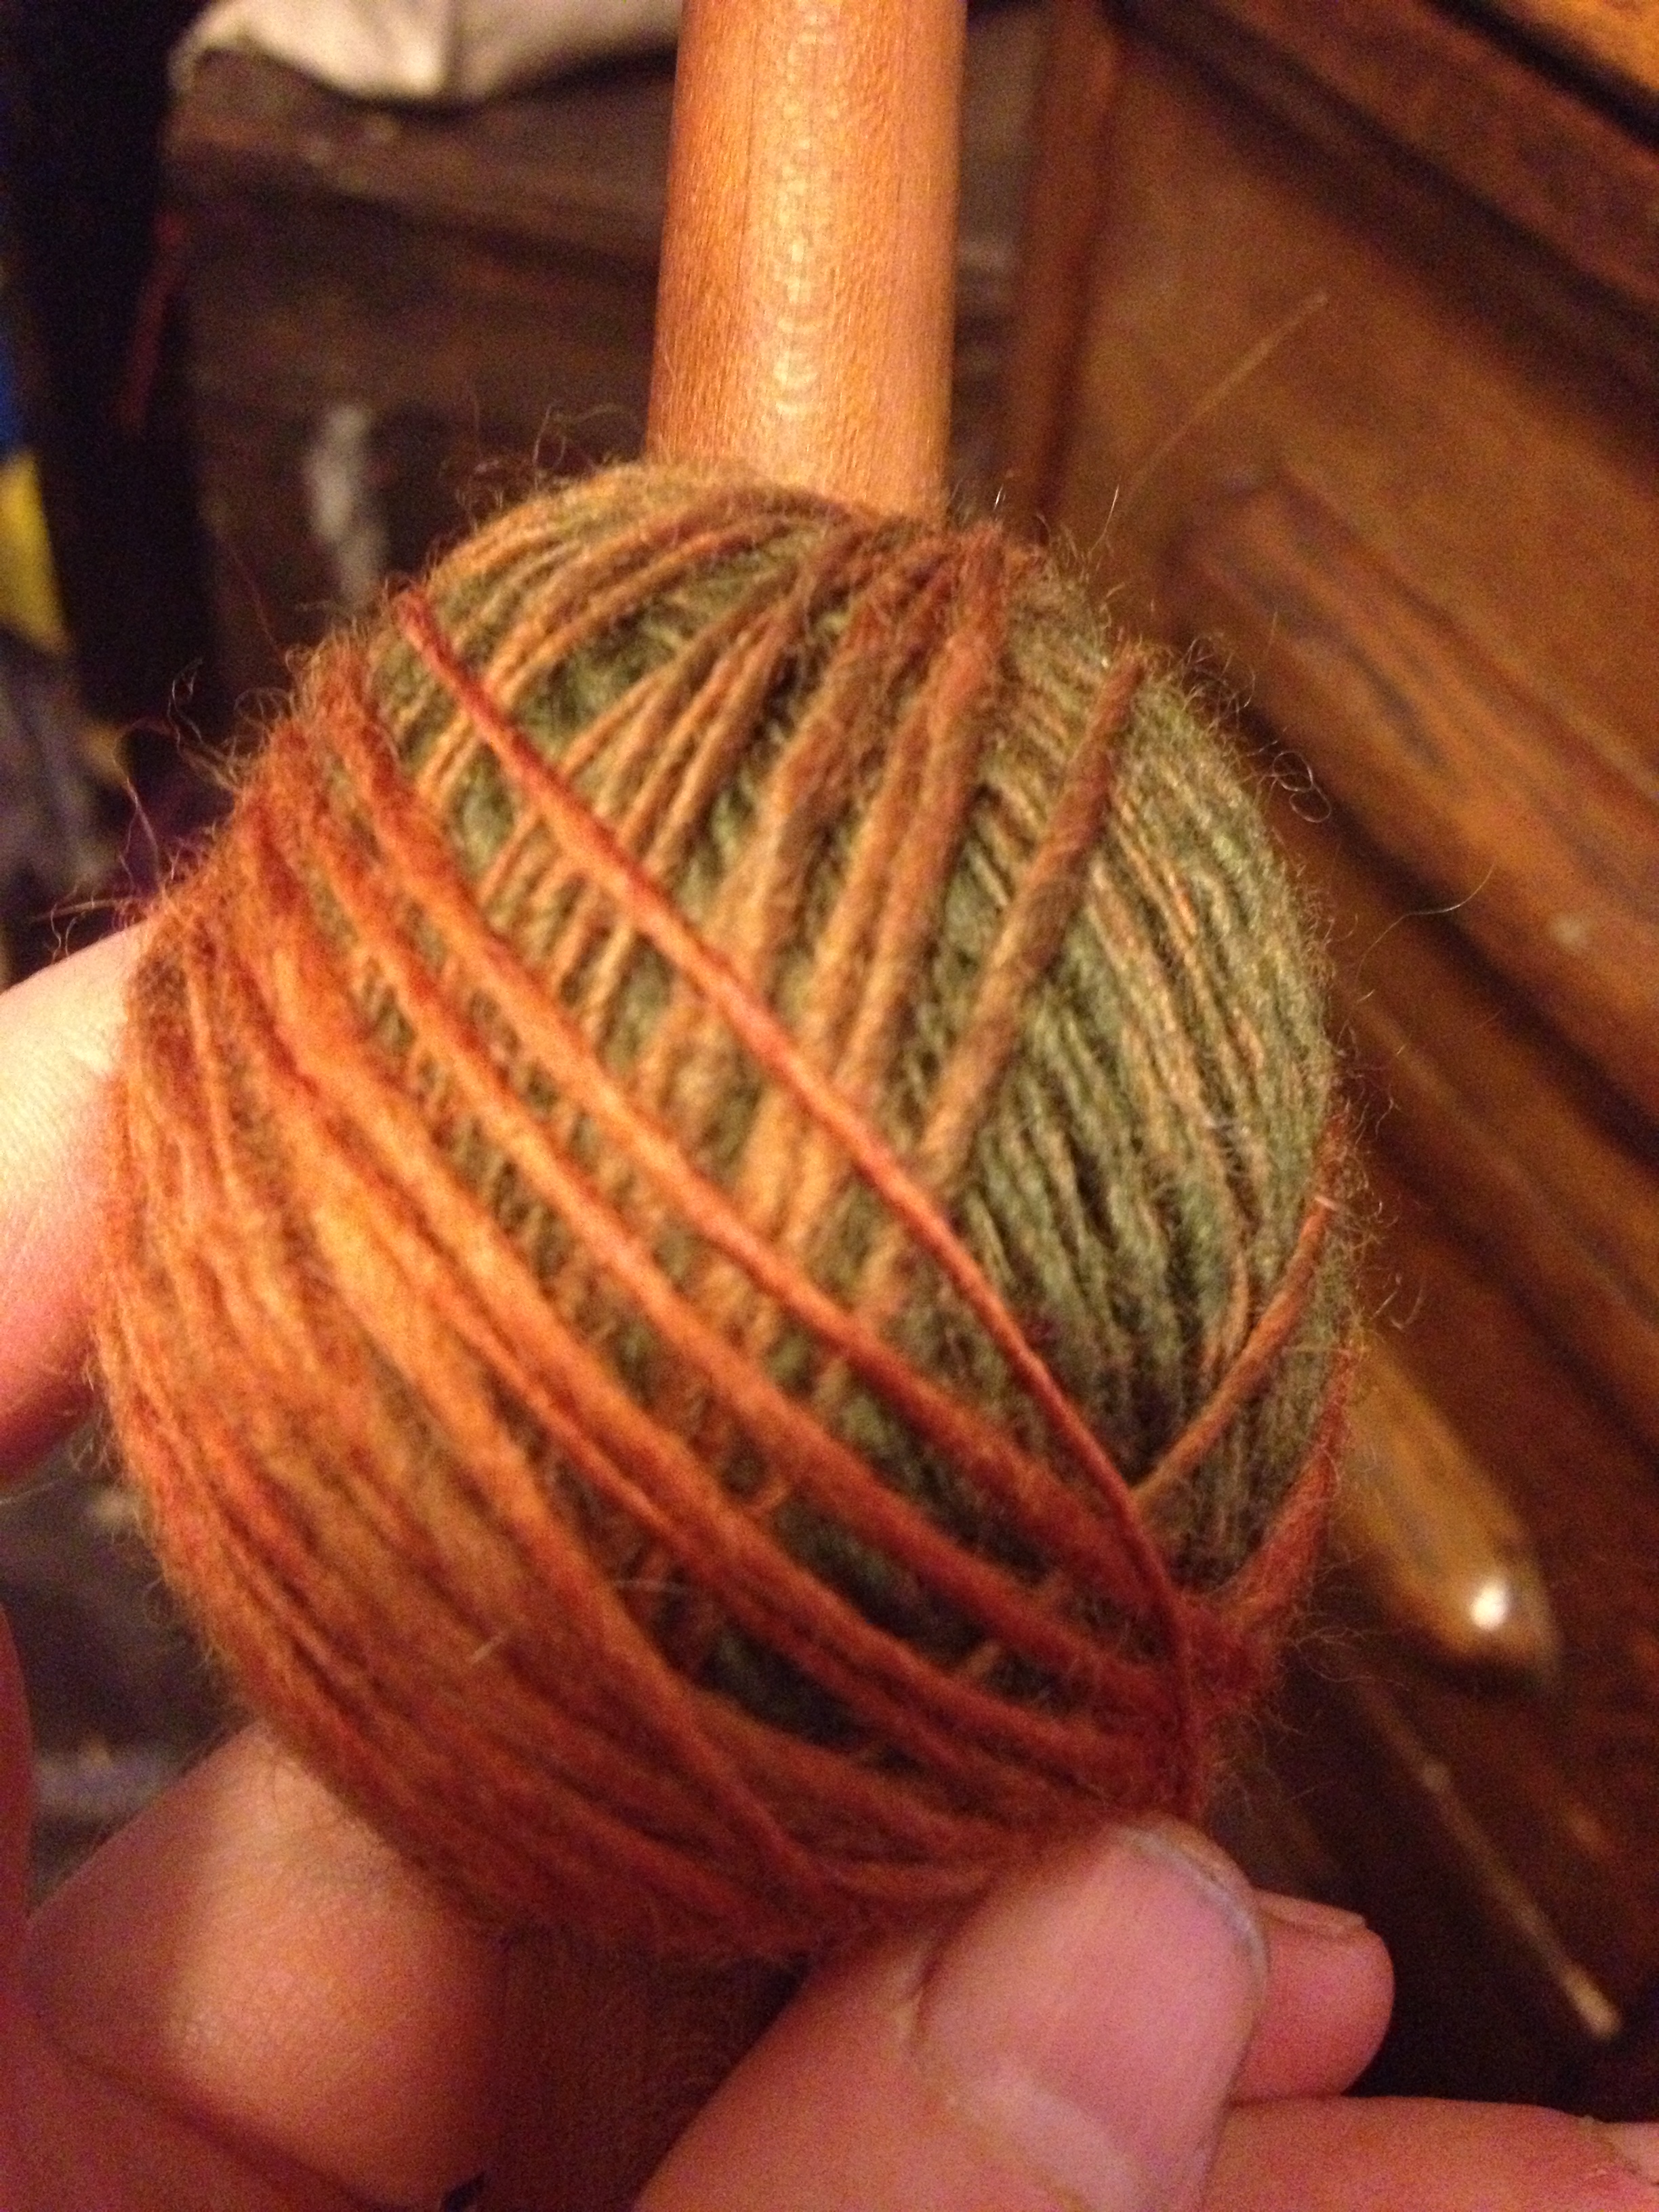
I used up all my yarn, but you can see the shoulder that I’ve formed. When I am making a large ball of yarn, I will sometimes do this for awhile, then wrap back up to the top again for a bit. You can make a shoulder any time that you feel the ball needs to be fatter.
Balls made like this tend to be flatter. When you are ready to ply, untie the starting yarn. Tie it to the ending piece and ply.
Feel free to ask questions on anything that isn’t clear.