• Tutorials 28.09.2021 No Comments

    Back in the old days, there was a revolutionary knitting book. It was called Knitting Without Tears by Elizabeth Zimmerman. She gave you a percentage system, that you could use to design your own sweater, without needing a pattern. EZ’s work led to a lot of knitting innovation.  We seem to have fallen back into buying patterns, letting someone else do the design work. I am putting together a tutorial on knitting an Icelandic Sweater, using the percentage system. I will be using Knitting in the Old Way by Priscilla Gibson-Robert for my work. She uses EZ’s percentage system, but also focuses on how to use that system for classic sweater design.

    Also, I am linking to this set of tutorials online, from Knitting for Everyone:

    https://youtu.be/0ss8VxLNqlY

    https://youtu.be/tRUCf3mzTGg

    https://youtu.be/BGNLk1sSdEk

    She does use commercial patterns, but it is a good overview on how this sweater goes together. Also, she uses a really nice method of starting a 1×1 rib. There’s an additional video on her channel, if you need a clearer view of it.

    The drawback to making your own patterns is that you have to figure out how much yarn you’ll need and a few sizing details along the way. I’m making mine bottom up, as she shows in the tutorials, so you can try the sleeves on as you go. You’ll have a good idea of gauge after making two sleeves! I love Icelandic yarns, so I just bought a bunch of it, online from Little Knits. I have enough for two sweaters, possibly three. If you need to get a better idea before you start, there is some reference material in PGR’s book on yardage and you can always check a pattern online to see what they used. There are graphs for a couple of yoke designs in the book, or you could graph a pattern that you’ve seen online. Trust me, you’ll get braver about modifying things as you go, once you’ve started working this way.

    I’ve finished both sleeves, so will try to put the first part of the tutorial up soon. I would love to see more folks making their own designs and learning how easy it is to have a sweater that fits you well.


  • I have a set of Viking combs and they are a perfect fit for the type of wool I like to spin. I believe these are from Indigo Hound. The single row works fine for me. It would be nice to have a double row set for finer fiber. I chatted with some comb owners via email before I got my first set of combs. English style combs have less waste, but require a different technique to use. Paddle combs were highly recommended too. I like to spin longer fibered wools like Romney, Icelandic and Corriedale. These can be easily processed with these simple combs. The only other tool I use with this is a horn diz. You can easily make one out of plastic, if you don’t have access to horn.

    This project uses three Romney lamb fleeces, soon to be turned into the Darrowby cardigan.
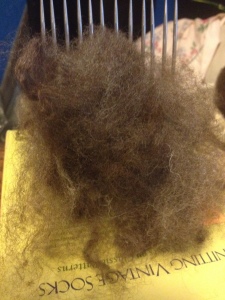
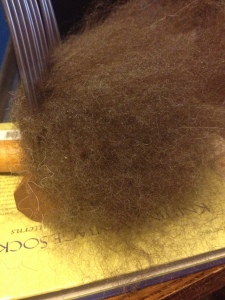
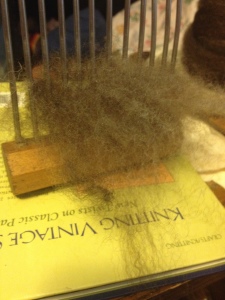
    Comb loaded

    First pass side

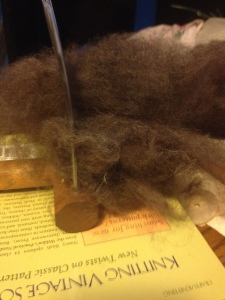
    This is the comb loaded. It’s important not to put too much onto the comb. It will fluff up and it’s easier to comb with less fiber. Just take some off if you have too much. The fiber is easier to comb if it’s warm. If you have a problem with static, just spritz it with a bit of water. Use the tip of the comb to go through the ends of the fiber. You can comb with it at a 90 degree angle, but I will sometimes comb a bit from underneath.

    Second pass side

    Second pass front

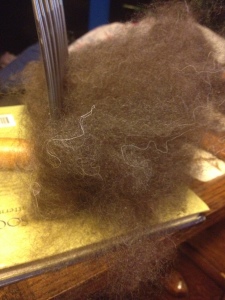
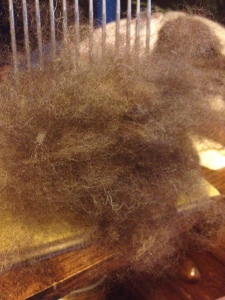
    This is after the second pass. You’ll see the fiber really start to straighten and align on this pass.

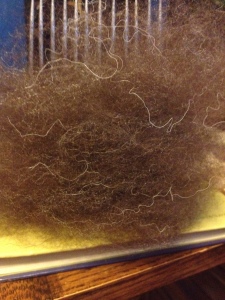
    Third pass side

    Third pass front

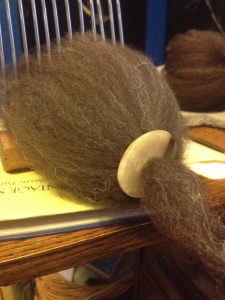
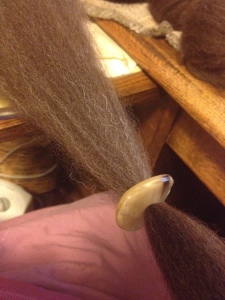
    Third pass and this is all I usually need. At this point, it will look nicely combed.It’s time to put on the diz and change it into roving. I smooth the fiber into a “beard” shape, then roll the end up to poke it through the hole of the diz. Once it’s in, I pull the fiber a bit and push the diz down towards the fiber mass. You want it against the fiber, but not tight. Start pulling on the end of the fiber. I generally pull about a hand’s width and stop. Slide the diz down into the fiber mass and pull again. It should slide along pretty easily. I don’t want the roving to get too thin, as I can thin it out after I’m done with this process.

    Diz in place

    Diz pushed back and ready to pull fiber

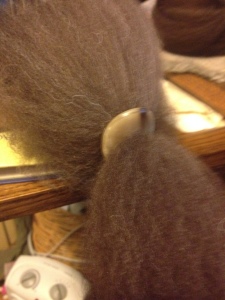
    Pulling fiber

    You’ll start to get down to the fiber left at the end. Look to see how much junky stuff is getting into those last fibers. That’s when I just pull the last good fibers through the diz and call it good. If you seem to be pulling to one side, smooth the fibers into that beard shape before you slide the diz back. You should catch some of the fibers from the other side and will start to draw more of them in.

    Leftovers

    You will have some fiber left over. Sometimes, it’s good fiber that just tangled. I don’t try to reprocess this. With longwools, it should be clean looking roving at this point. And this is a good place to talk about dual coated wool, like Icelandic. The long fibers will pull first, followed by the shorter stuff. If you are careful, you can blend the two fibers to a certain extent. Viking combs were designed for you to be able to separate the long and short fibers and spin them separately.

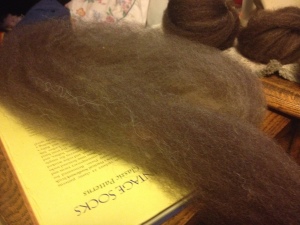
    Roving after combing

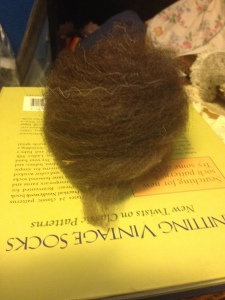
    This is what the roving looks like after combing. I like to roll this up into little “nests” for storage. As I wind it around, I pull to even it out a bit and I twist it a little as I wind it. I tuck the end into the circle of roving and it looks like this:

    Roving rolled up into "nest"

    Finished product! I’m spinning this fiber on my Enid Ashcroft Olive Mindi. I’m going for a three ply, worsted weight yarn. The turk will make this low twist, so it won’t be the hard, firm worsted yarn you would see from a wheel or high whorl. I’ll post pictures of the fiber after I’ve plied it. Feel free to drop me a line if any part of this isn’t clear. I do sometimes card fiber, but I really love the process of combing.

  • I realized that I should have shown how to use the yarn stuff sack for plying. So here you go!

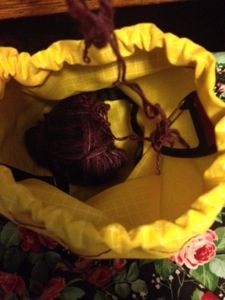
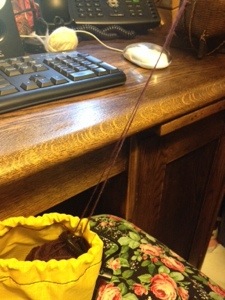
    Yarn sack with a turtle from my Delight. I’m plying from both ends of it. I just snap the two strands into the triangular yarn guide.

    20140318-170005.jpg

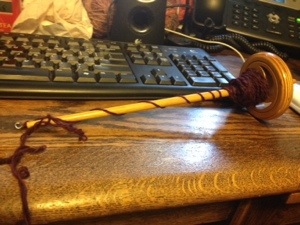
    The other end is on my trusty low whorl.

    20140318-170054.jpg

    The turtle stays in the yarn sack, making it easy to ply.

    20140318-170151.jpg
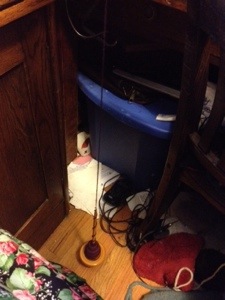
    I just hold the spindle off at my right side and let it spin.

    20140318-170242.jpg
    Repeat until complete!

  • Tutorials 08.10.2013 No Comments

    I posted this over on Ravelry, so decided to share it here.

    Here’s a quick tutorial on how I use a nostepinne. A nosty is just a stick, so this would work on any stick or even a toilet paper roll.

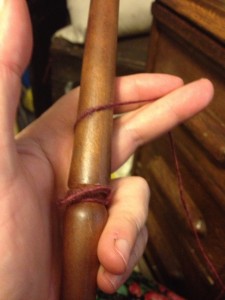
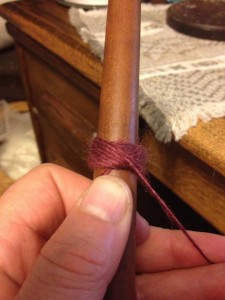
    I like to start by tying the yarn around the handle of my nosty. You can just hold it in place to start. I wrap it around towards the right.

    2013-10-07 17.58.34

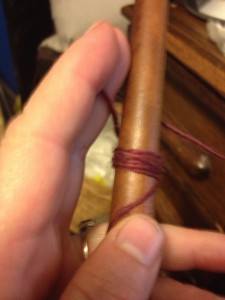
    Here I’ve wrapped it a few times around the nosty to get started. Notice that I’ve got the yarn pointed up as I’m getting ready to start my wraps.

    2013-10-07 17.58.51

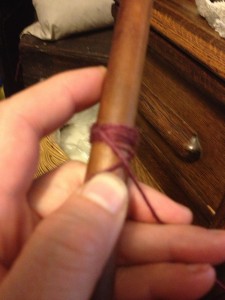
    This is my first wrap down. Most people seem to wrap up, but I feel that I am faster making that downward motion.

    2013-10-07 17.59.01

    Now I’ve gone around the nosty and back up, in position for the next downward wrap.

    2013-10-07 17.59.17

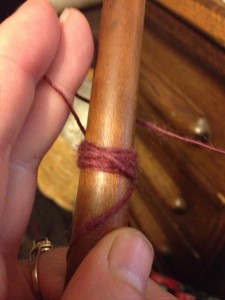
    Each wrap is next to the previous wrap. You slowly turn the nosty as you are wrapping, using that same motion down in the front, then back up at the back.

    2013-10-07 18.00.17

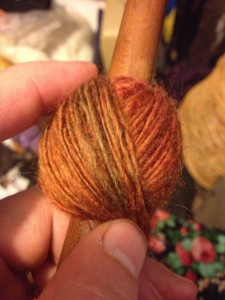
    I’ve done several more turns here. Notice that the wraps are getting longer and the ball is growing longer on the nosty.

    2013-10-07 18.04.33

    You can continue to go around like this, but you will wind up with a skinny long ball. I’m going to do what I call “make a shoulder” so that I make the ball fatter. Here’s my base:

    2013-10-07 18.06.34

    When you make a shoulder, you are deliberately shortening the length of the wrap. It helps to keep a finger nearby, to guide the yarn around the first few wraps.

    2013-10-07 18.06.50

    You can really start to see how I’ve shortened the wrap. It also is moving diagonally across the ball, instead of up and down.

    2013-10-07 18.07.42

    As you continue to move around the ball, it gets wider.

    2013-10-07 18.08.37

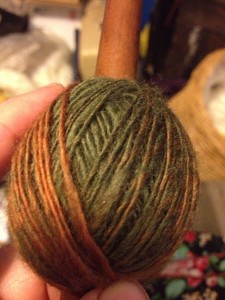
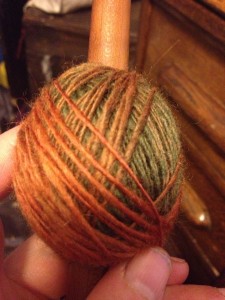
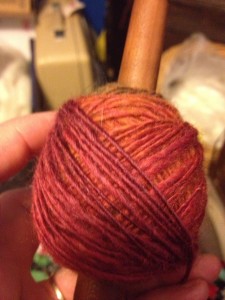
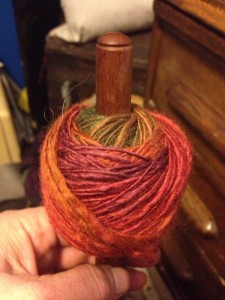
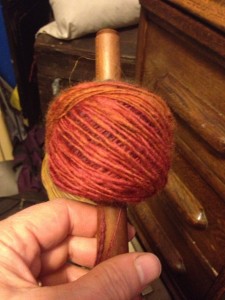
    I used up all my yarn, but you can see the shoulder that I’ve formed. When I am making a large ball of yarn, I will sometimes do this for awhile, then wrap back up to the top again for a bit. You can make a shoulder any time that you feel the ball needs to be fatter.

    2013-10-07 18.10.14

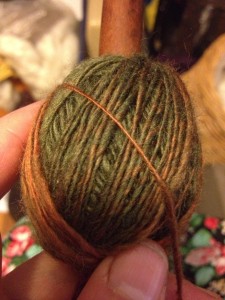
    Balls made like this tend to be flatter. When you are ready to ply, untie the starting yarn. Tie it to the ending piece and ply.

    2013-10-07 18.10.19

    Feel free to ask questions on anything that isn’t clear.